-
Posts
1,186 -
Joined
-
Last visited
Content Type
Profiles
Forums
Events
Gallery
Everything posted by Commodore Swab
-
not quite the constructive critisim i was looking for but thank you.
-
As a measuring stick I would compare it to my small cannon which also has a 1 inch bore and roughly the same length within a few inches, material would be the same as well. My small cannon uses 1 oz of FF per shot for a respectable bang, this is foil wrapped with no wadding. The Viceroy and I talked about it today and we couldn't really come up with a plan either. Cartridges rammed home and swabbed sounds good but firing off a pan and trying to run a pick thru a flintlock vent seems to leave a be a safer way of dealing with a charge yet I think would be more prone to a misfire.
-
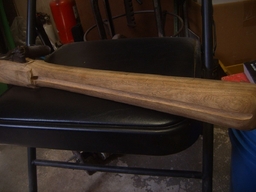
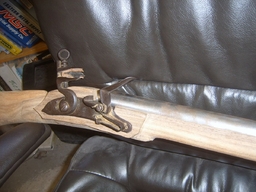
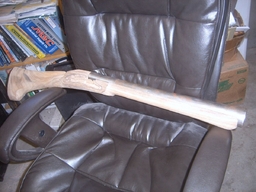
See what happens when you don't check in. True it may look like alot of work has been done but these are the "big steps" where the work done is noticable. Yesterday a friend tried some browning and was disgusted with it as it rusted everything overnight so he gave it to me. If this works the same then it should provide a little pitting that will then be cleaned up and done properly to match the age of the lock. Today I took the time to work on the stock and barrel then give them a coating to check color. As I thought the stock is much too light and I am going to have to see what I can do to darken it and the barrel turned out coppery in color so it will probably all get removed tomorrow. So far Im estimating 6 days at about 6 hours a day and at min wage which I believe is 7.25 here that works out to $260 in labor alone, compared with a $500 india blunderbuss you can see why Im building it for myself and can't afford to make something like this to sell. Anyways much much more work to go but here are some pictures from photobucket, Ill change them to my gallery here once its working again. First off the barrel cleaned up and sanded Putting on the browning (knowing its going to be sanded again And a few pictures of the "lock stock, and barrel" together. This is a good point to voice your opinions if I should change anything
-
Well for PiP you wouldn't have to bring any, Im sure some could be caught in the surrounding streets . . .
-
any news whe it will be online, I was hoping to add some photos to the blunderbuss build
-
Ive been thinking about this and its got me wondering. Often you can find original blunderbusses with a yoke made to be mounted as they are too big to fire from the shoulder or small swivel guns. These are pieces small enough for one person to pick up and fire most would have around a 1 inch bore give or take. I can see a swivel with no lock needing a linstock or similar but a flintlock wouldn't. Guns of this size can be handled by 1 or 2 people, how many would of been firing them originally? Would you swab a massive blunderbuss or have charges and a prick? These seem to fit into a void between cannons and small arms. If you brought something like this to an event like PiP what would be the safest way to fire? Im assuming something similar to this, with a 1 inch bore it falls into the cannon class but could still be hefted around by 1 person.
-
yeah well mines older so there ha ha ha
-
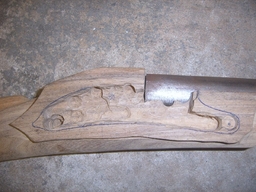
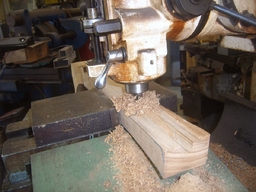
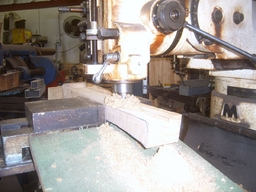
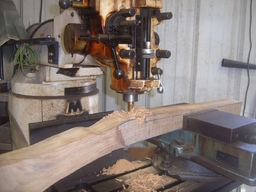
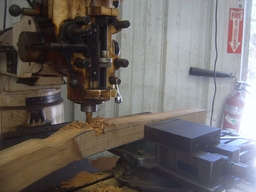
Today consisted of inletting on the mill to actually get the lock to fit and cutting the channel for the ramrod.
-
From the album: Spanish Blunderbuss Project
-
From the album: Spanish Blunderbuss Project
-
From the album: Spanish Blunderbuss Project
-
From the album: Spanish Blunderbuss Project
-
From the album: Spanish Blunderbuss Project
-
So is it a race between your buss and mine?
-
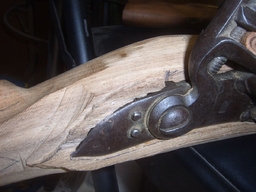
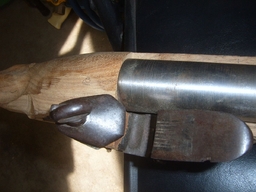
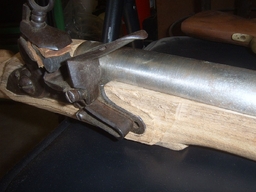
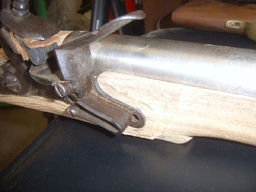
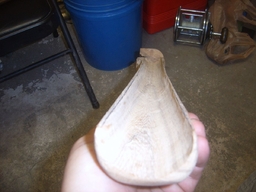
During the weekend I was able to cut/grind out enough to get the lock to fit flat so it could be marked out. Before I did this I milled the area flat. I also left extra wood on the side, you can always take a litte more out but you cant add more in. Normally I would dismantle the lock to lay the plate flat but considering the age and that this lock is original I opted to leave wood so that I could grind then mill. The barrel slot was finished, after the milling I go over it with a sanding drum on a drill a little at a time rotating the barrel to find the high spots. The sanding drums are the best option I have found so far when dealing with a tapered blunderbuss barrel. The stock has been roughed into shape and the barrel fitted. I rough the stock using an angle grinder with a sanding pad, you must be careful as it is easy to "goof" and then go over with a random orbit and about 60 grit. This will deliver a relativly smooth shape but be sure enough wood is left on to go over with a much finer grit when completion is neared. and with the lock in place
-
From the album: Spanish Blunderbuss Project
-
From the album: Spanish Blunderbuss Project
-
From the album: Spanish Blunderbuss Project
-
From the album: Spanish Blunderbuss Project
-
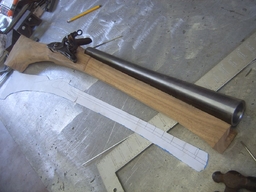
After cutting the barrel off I line it up with the lock and compare with the printout The printout is then cut out and traced onto the wood for the stock which is then cut out for the general shape. The stock was then put into the mill and the cutting started, first "truing up" on the sides of the barrel then rough cutting the barrel groove. This concludes Friday with a final shot of barrel lock and rough stock
-
From the album: Spanish Blunderbuss Project
-
From the album: Spanish Blunderbuss Project
-
From the album: Spanish Blunderbuss Project
-
From the album: Spanish Blunderbuss Project
-
From the album: Spanish Blunderbuss Project


