

madPete
-
Posts
1,715 -
Joined
-
Last visited
Content Type
Profiles
Forums
Events
Gallery
Posts posted by madPete
-
-
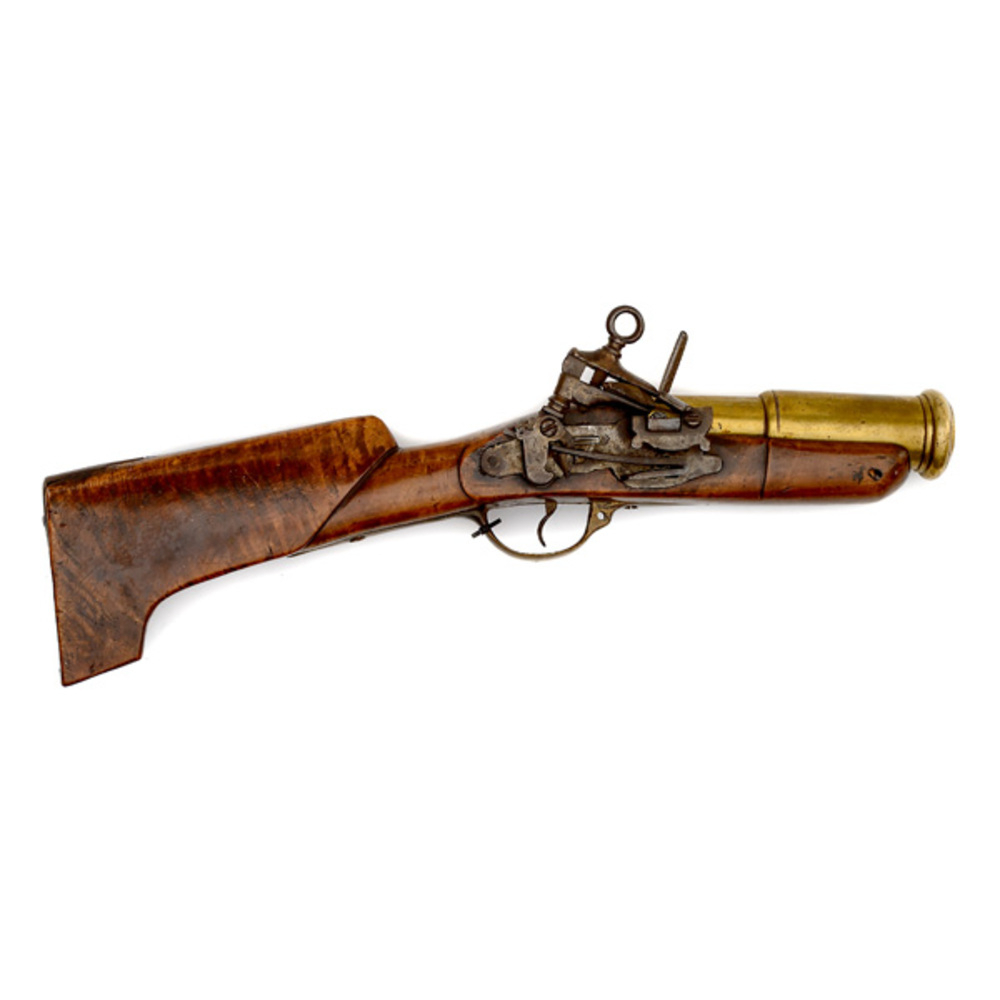
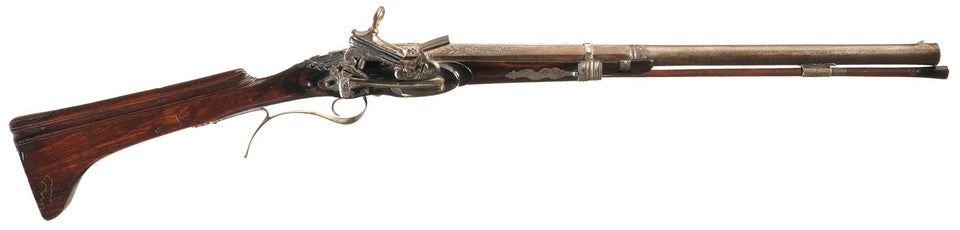
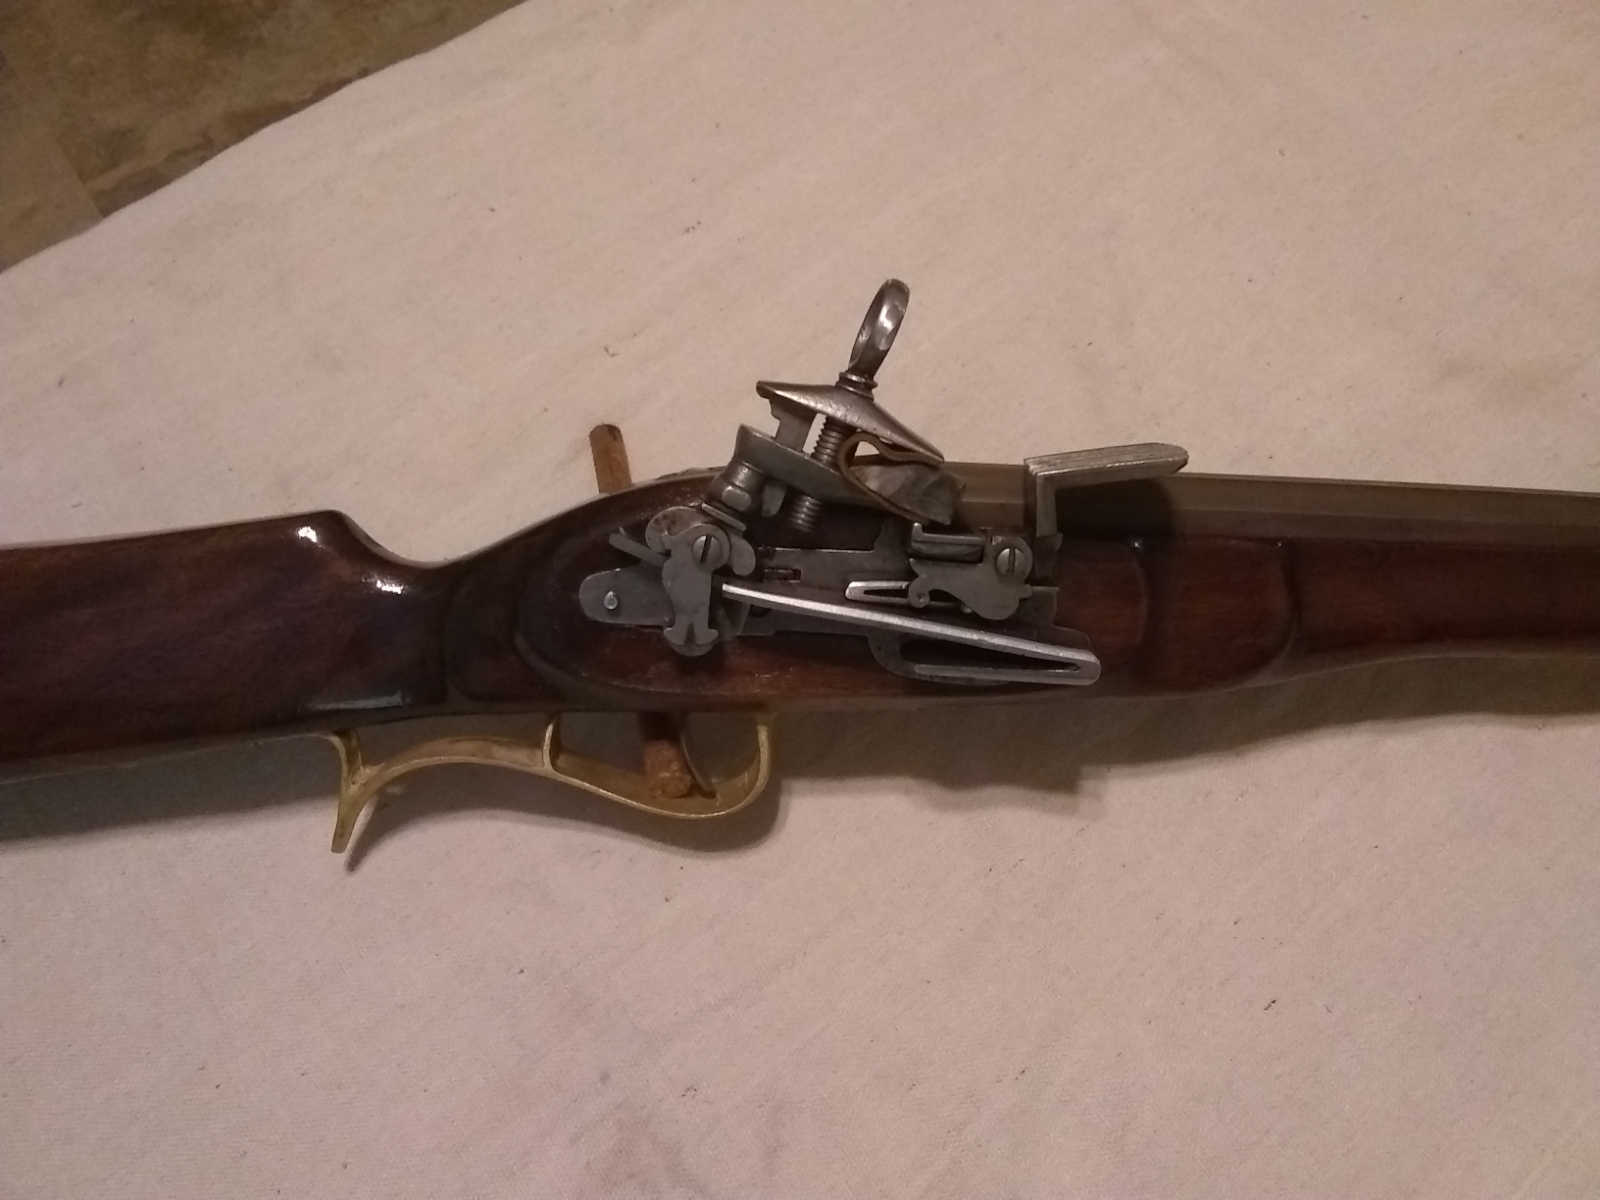
Thought I would post some of my favorite weapons of the Spanish miquelet variety...

-
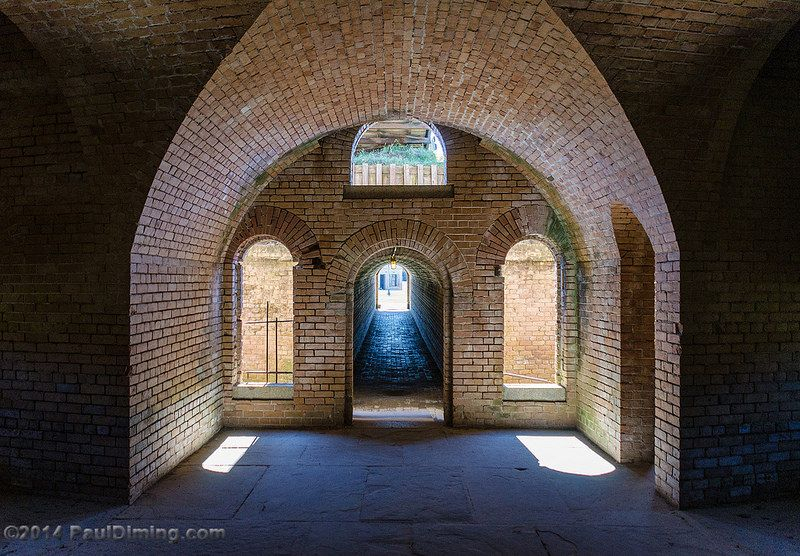
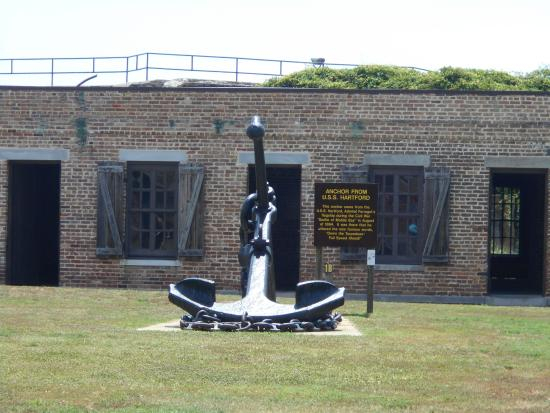
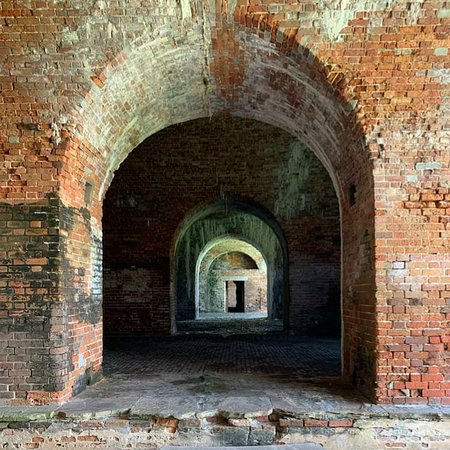
A re-enactor friend of mine who moved to Mississippi is going to the event. He's about an hour away from Ft Gaines and actually drove to the fort yesterday to do a bit of a visual survey. He's been to the event in past years and confirmed a lot of our thoughts. There's several open rooms or casemates, similar to ft taylor which are available to set up as a pub, etc...
We will be needing tables and chairs (or stools) at least for a group meeting place. So it's encouraged to bring a table if at all possible, along with a chairs/bench/stools for yourself.
Bring period lanterns if you have them also! We would love to have the aura of many lanterns at night.
September can be warm and humid, a fly could be useful during the day.
If you are considering this event, please contact William Brand to get on the list, there's a limit on # of participants. We're supposed to recieve some pictures, but in the meantime I found these online...

-
In the interest of simplicity, I went with threaded hardwood dowels. Had I started with soft wood, I might be farther along but I was worried about durability. I may still explore that route.
To be fair, I did consider legs like you are describing but with a crossbrace at the bottom with pegs to hold legs in place. But now you have complex angles and joints that all need to be cut, and fit properly along with a specially shaped inlet in the seat probably requiring a router setup. I'm not convinced a dowel will keep the legs in place without being extremely tight and thus difficult to disassemble. Then as things begin to wiggle as they inevitably do with use, how do you tighten it up again without just punting and glueing it all together.
The threads are tapered in the seat since I didnt thread them all the way thru. If they start to wear, you just turn the legs in farther.
So in the end a simple tavern stool remains simple.
-
9 hours ago, Mary Diamond said:
I have used hemlock, and personally am very pleased with its durability and ease to work.
hemlock just sounds cool 😁
"What will the solemn Hemlock- What will the Oak tree say?"
Emily Dickinson
-
Happy Birthday. We made a cake but it got away from us!
-
leg shoulders? haha. Its just straight oak dowels with the end threaded. The holes are drilled 15degs in the seat tho.
I'll take more pics later, I'm cursing that thing right now. My hands are still sore from threading those holes in the seat.
-
Michael, not saying your choice was "all wrong". Oak is just overkill at those prices.
I found this article about hemlock. Seems its used as an alternative to hardwood. Guessing thats the stronger choice over pine...
Either way, avoid the knots as much as possible!
https://www.woodmagazine.com/materials-guide/lumber/wood-species-2/hemlock
-
There goes that $100 bill! ... snickering
-
Did you multiply the price per linear foot x 9ft? Sit down when you do! LOL
Seriously, oak is overkill for a tent. Plus much heavier to transport. Altho you may not find staircase handrail in anything else. I can't believe they dont have simple fir closet poles in your part of the "woods"...
-
Very nice! You are going to bring that to Massacre island right??? LOL
My challenge is a sturdy stool that the legs can be removed for transport, and without appearing to be modern.
This will fit in my tent duffle if I'm not too close to the weight limit. Or I can ship it in a medium USPS box.
-
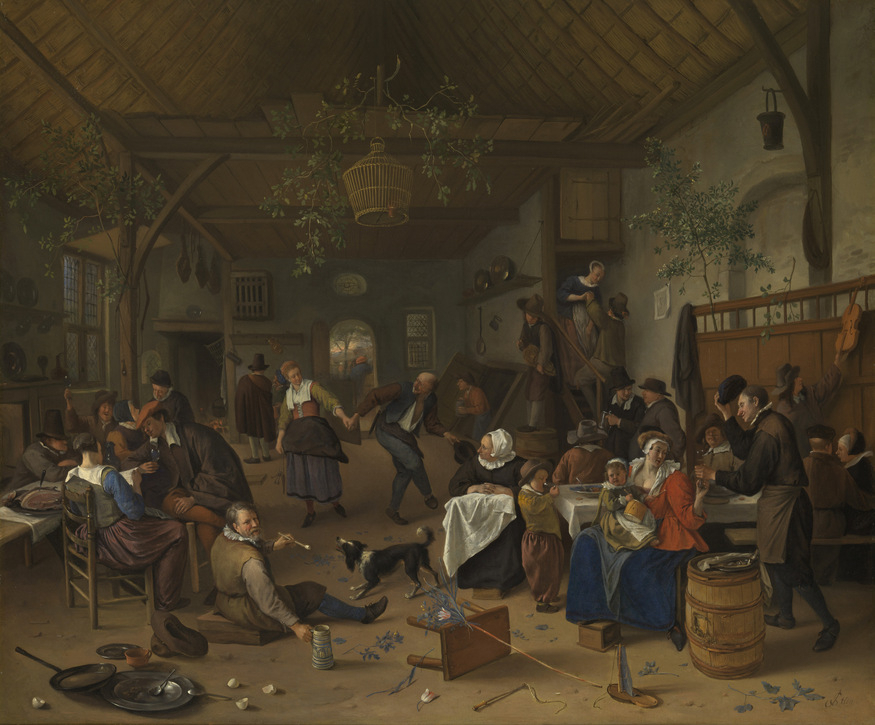
"David the Younger Teniers" according to the WIkIgallery. but I cant find the original anywhere
-
usually I include the artist in the filename name, but I must have pulled this one from... AAAGHHH pinterest. I'll see if I can find the original
-
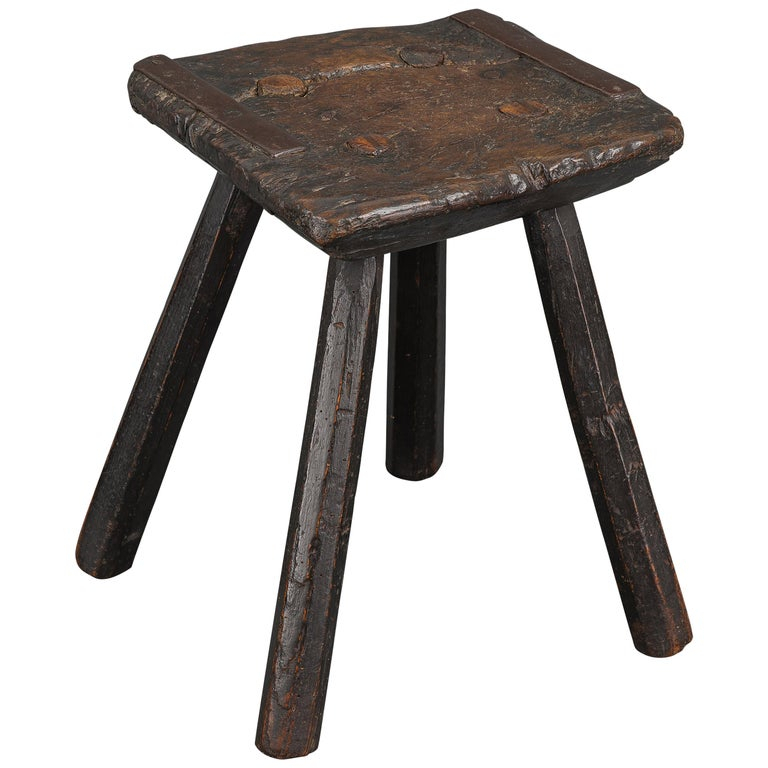
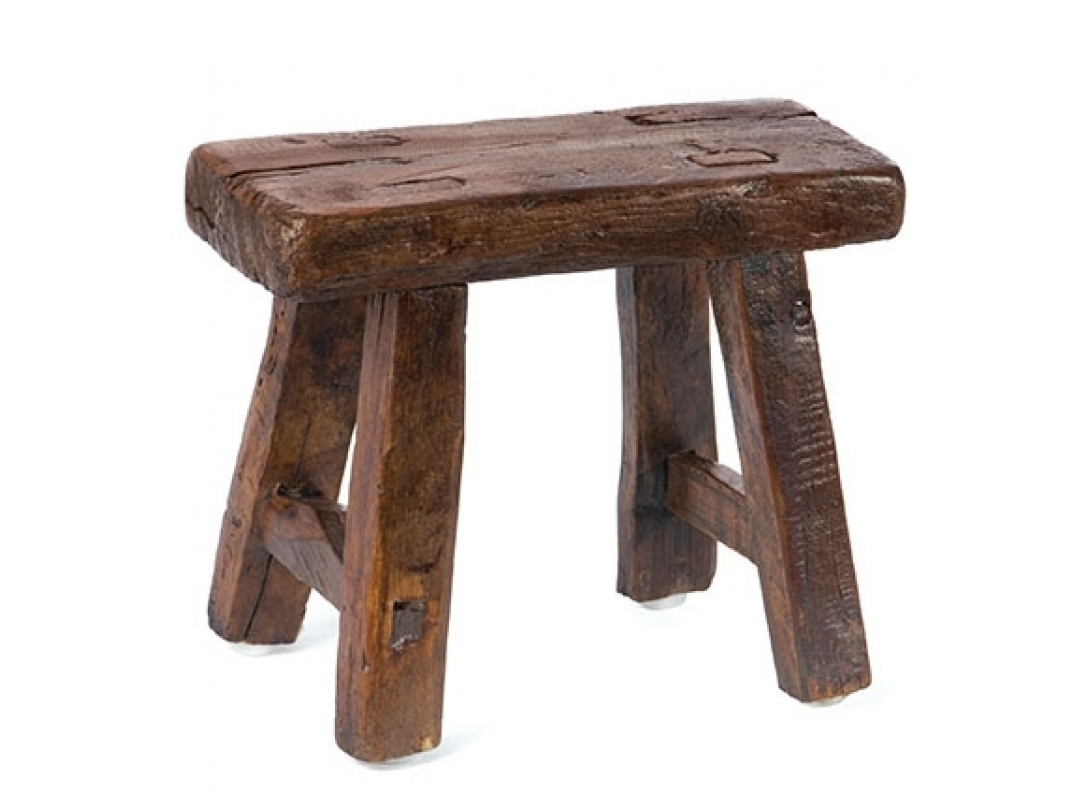
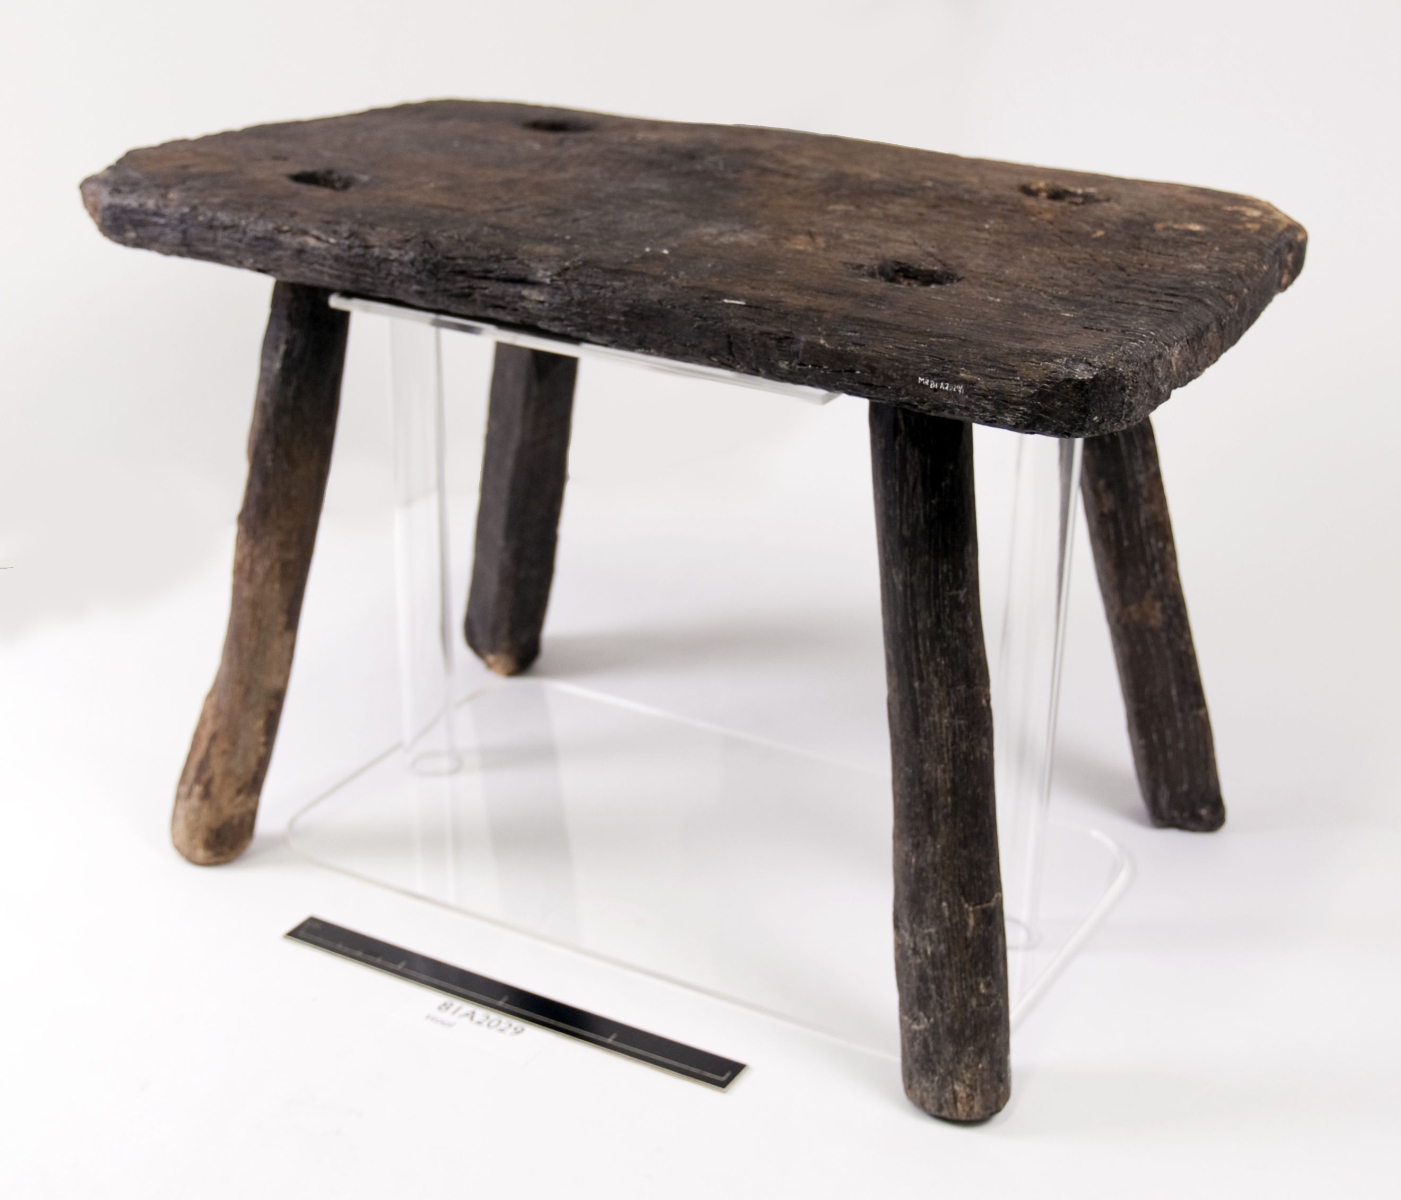
Here's a few other historic examples...
-
William and I talked about some portable tavern stools for events. The desire was to make them historic as possible and portable i.e. legs can be removed for shipping/transport. We also wanted them sturdy, cheap, and portable.
HAHA... Pick any two.
Being "portable" was the biggest challenge. Thinking we could use threaded legs, to make a portable stool and still be historic looking, I proceeded to search for a tap and die tool for wood. I found one and ordered the appropriate size. Once it came in I was a bit hesitant. The tap looked beefy enough but the die is a two handed deal made of plastic/nylon with a steel cutting bit.
I went to the local hardwood store "Timber Woodworking" and found some 1-1/4 oak dowels. They were out of most sizes/wood variations at the time, but I'll revisit again later. I also found a chunk of maple to make seats with. If you haven't priced wood lately (especially hardwood), you might be a bit surprised. Hardwood dowels are not cheap nor is maple stock in 7" X 1-3/4" chunks. Only about $9 a foot!
Anyway, got home and proceeded to mark up and drill the prescribed hole in the seat at a 15deg angle. Managed to get thru that and attempted the tap. It turned out to be a stumbling block, I'm sure this cuts thru softwood like pine or fir like butter. But, Maple ... ah no. After an hour or so of struggle, I walked away for a bit. It was catching the wood pretty hard and I was afraid I was gonna break the tap if I twisted any harder. Not to mention my muscles were screaming. The instructions said to oil the wood, and I did, but apparently olive oil wasnt working.
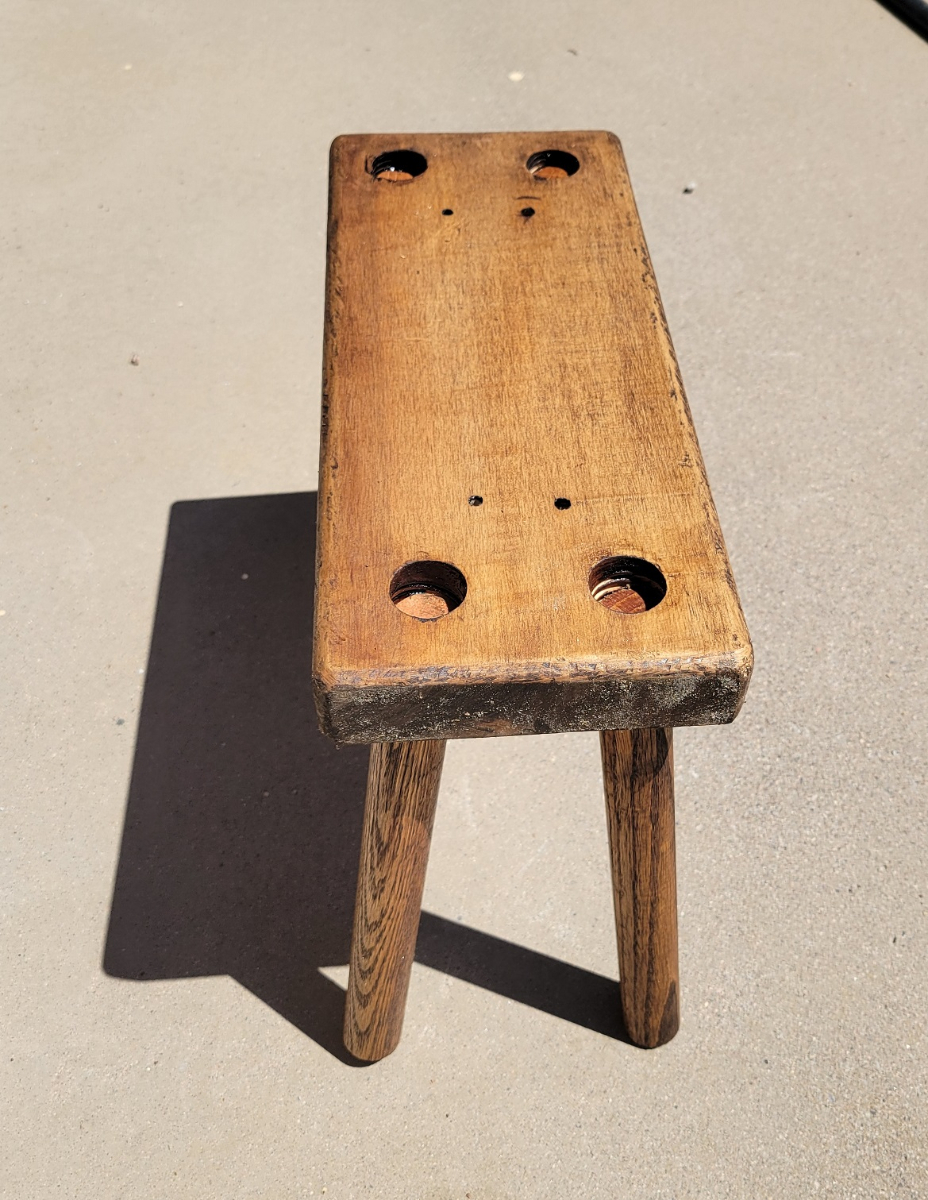
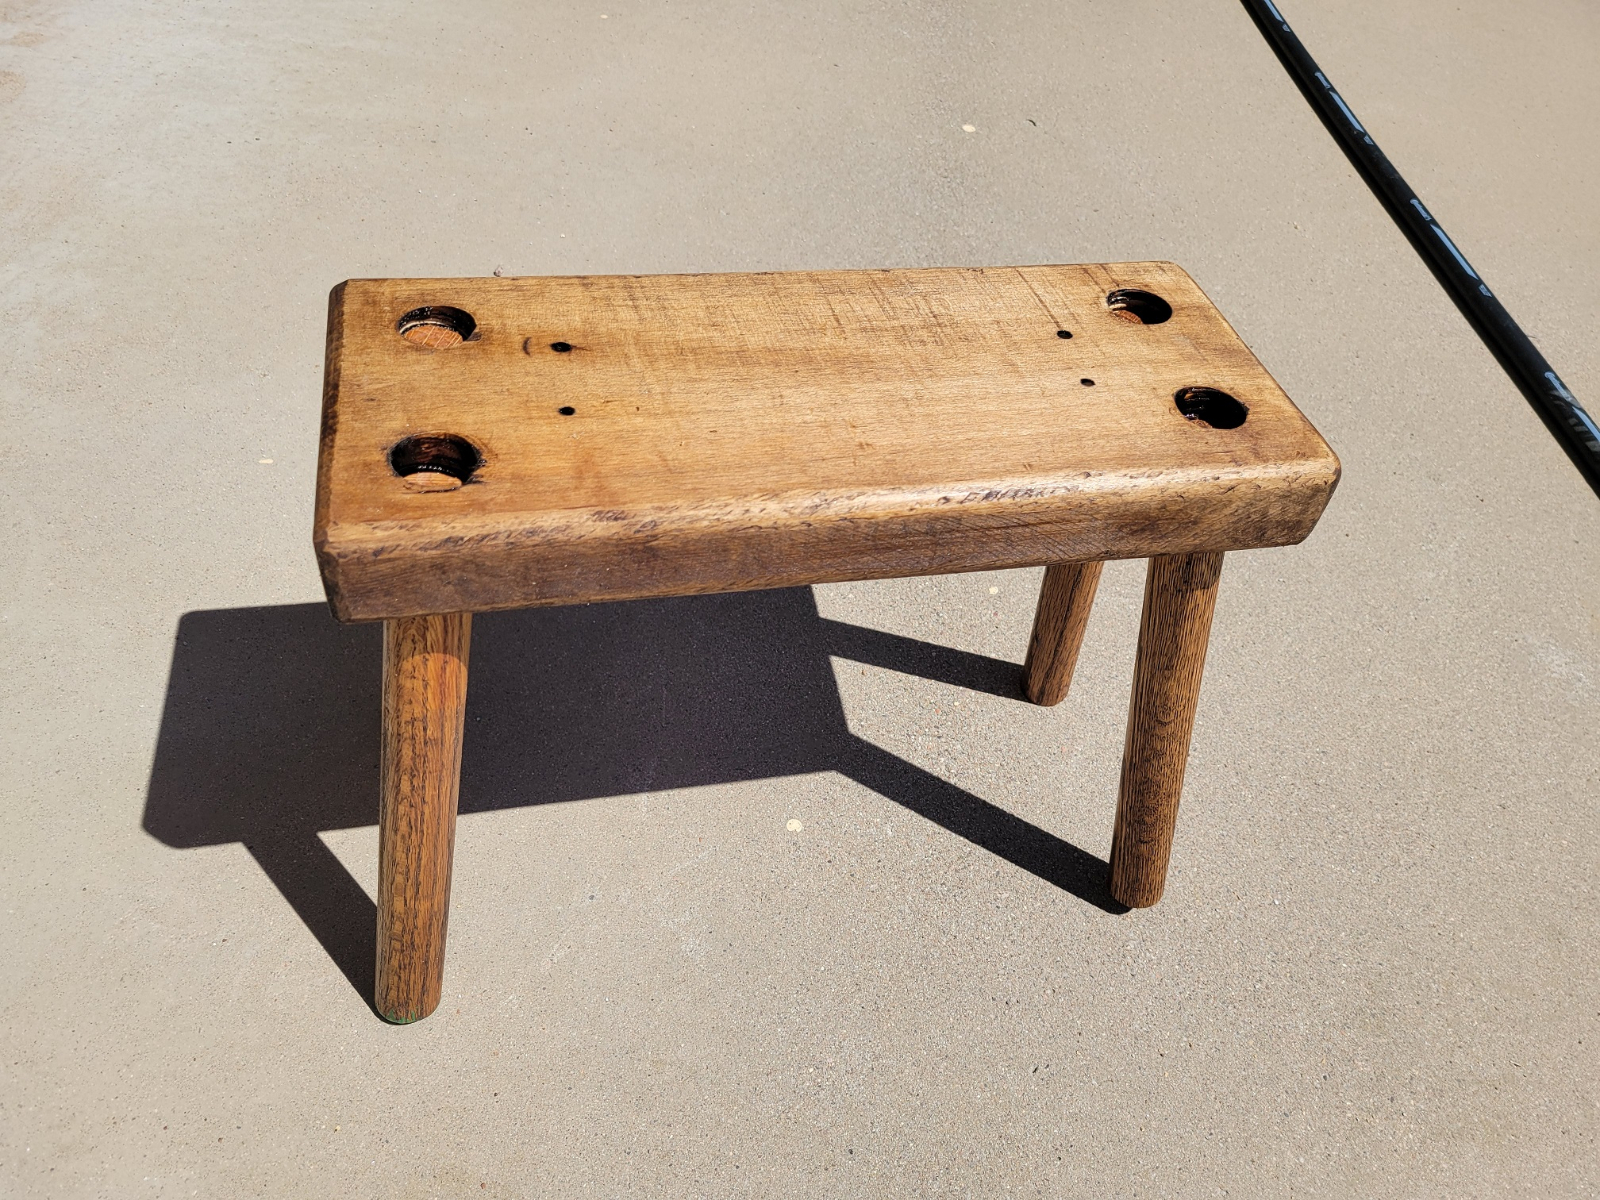
So after some research and investigation of other attachment methods I returned to it a week later. This time with the die on an oak dowel. Oak might be the plan going forward. It tends to chip the threads out a little at a time and the 4 legs went pretty quickly. I used Linseed oil this time. With this new found confidence, back to the maple seat. I liberally oiled with linseed along with the tap itself and started a new hole. This time it went a bit easier and faster. Likely the first hole I drilled was not true. My table top drill press does not have a deep enough throat, so it took two attempts to get thru the seat and it was binding. Make no mistake it still took some muscle and frequent oiling to get threads down the second hole but was much faster this time.
This is was the test prototype and shows it underneath. But I have a plan to clean it up, level the legs and maybe tap the legs a little deeper so they come closer to the seat surface. The pilot holes in the seat are going to be cutouts to lighten it. But I wanted to get an idea of how it looked in stain.
The first pic is a 17th century example from the Mary Rose, the next are my attempt...
-
Here's a link for the canopy pole connectors I used.
https://www.canopymart.com/1-3-8-2-way-connector-fitting.html
Now that I think about it I made a sectioned center beam with these also to fit in my duffel bag.
-
I found round closet poles in lowes and home depot (1-3/8).
If you need a pin in the uprights to fit in the beam, I buy a large lag screw. Drill a hole in the end of upright so you dont split the pole as you screw in the lag screw, and cut the head off the lag screw. instant pin.
you can section the uprights later if you want to for storage or transportation.
You should be able to find a 2x4 for the center but probably 12ft are expensive. I was surprised at the price of wood these days. Otherwise, get a piece of square tubing that the center beam fits into (may have to cut down the beam). then cut the beam in half and drilled holes, so I could lock the beam in place with a bolt and wingnut.
-
I imagine one solitary diary or recipe book from a ship's cook, would have made your life much easier and given us a more intimate knowledge of how food was prepared, mixed, and served.
We appreciate that you spend hours in that Giant Time Sucking Hole (GTSH). That acronym makes me think of goats...
Now we just have to find a way to apply it to our meals at events! Massacre island will allow us to experiment with the grains making bread in their ovens.
The only grain based meals at events I recall, seems to be the chowder/bread bowl at a certain restaurant at PIB and maybe an adhoc rice dish from someone. But my memory of happenings at events can be pretty thin and fade fast. Just ask William LOL
I do recall a few highlights from events tho, the corn chowder comes to mind and memory serves that the braised red cabbage Iron Jon made one year was a delightful surprise even for this meat-a-saurus. I know, I know not a grain...
-
3 hours ago, William Brand said:
And...before anyone asks...there will be 'gate duty' whether they ask us to do one or not.
I think there should be gaol duty as well! lot'o miscreants we are anyway! Michael would have someone to guard!
-
6 hours ago, William Brand said:
The badly stained ones make for good shirts and slops.
they will be badly stained after a pirates dinner for sure!
-
2 hours ago, Mission said:
As someonewho edits and re-edits and re-re-edits posts (even some of the really old ones), I prefer to keep this function. If I see someone saying something questionable which has potential to be edited away, I quote it in my response. Then they can edit it all they want.
I would add, if members are doing that in bad faith they should get booted. So quoting in a response is a good idea.
Do we even allow political posts? I didnt think we did...
-
Also have been collecting linen tablecloths from goodwill for the likely event dinner. These will be free for the taking after the event, for shirts etc..
Again these will likely be shipped ahead of time. I have found two so far. Trying to avoid badly stained ones.
-
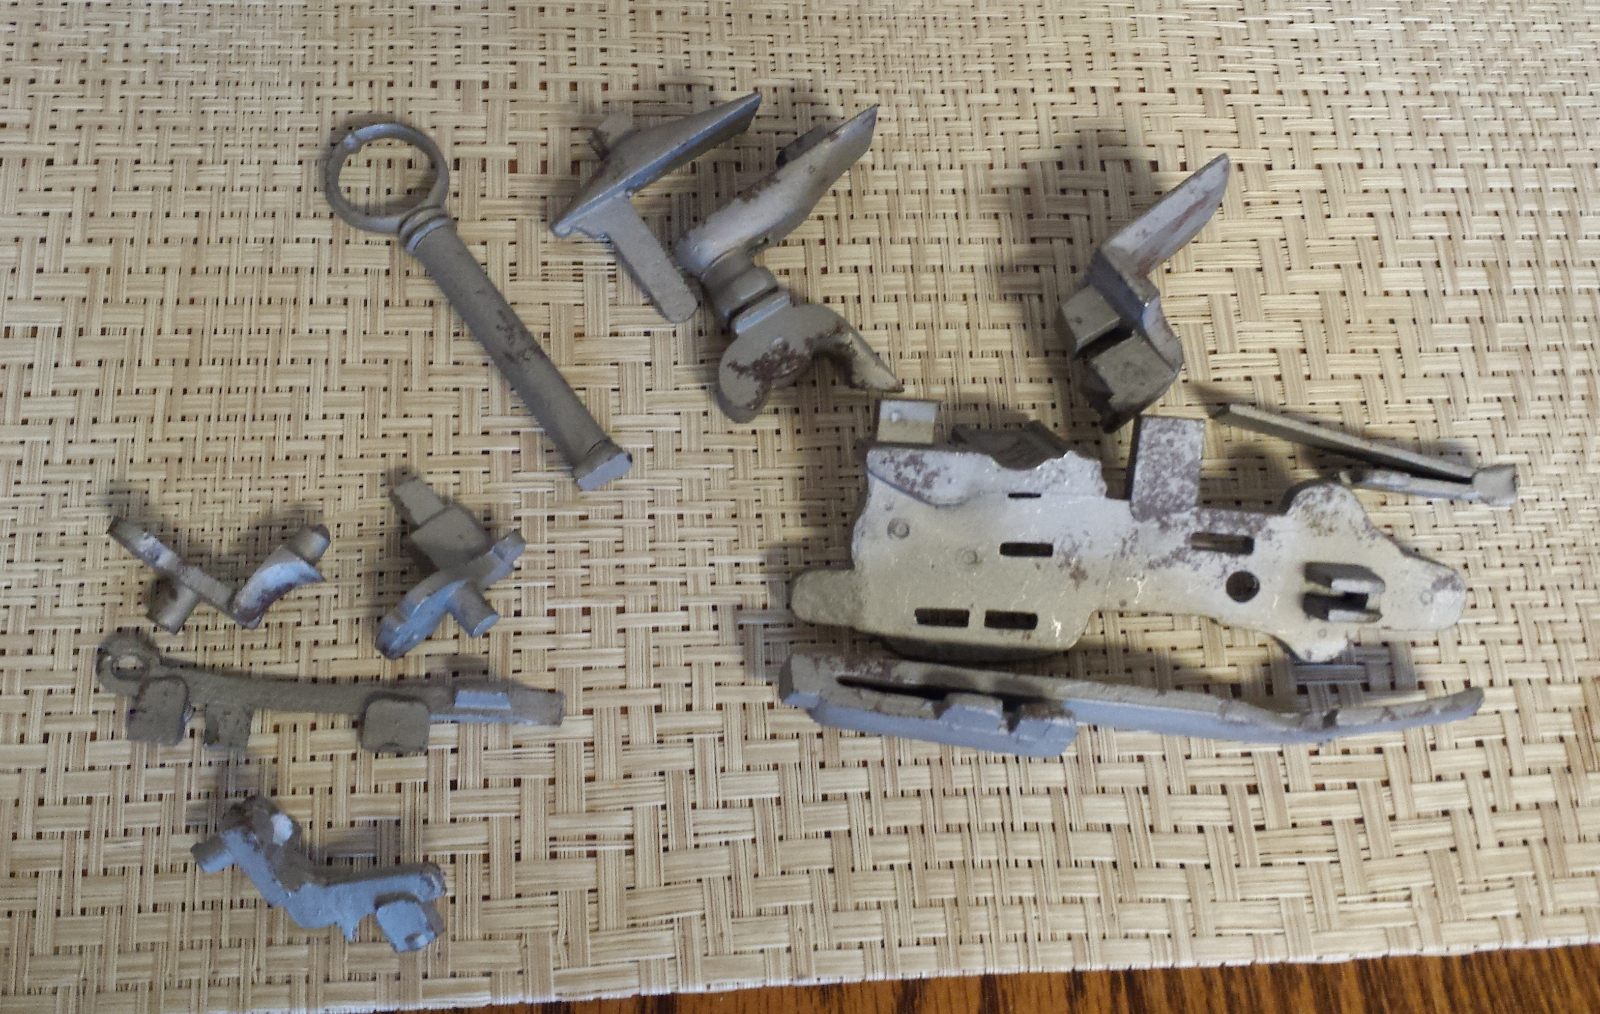
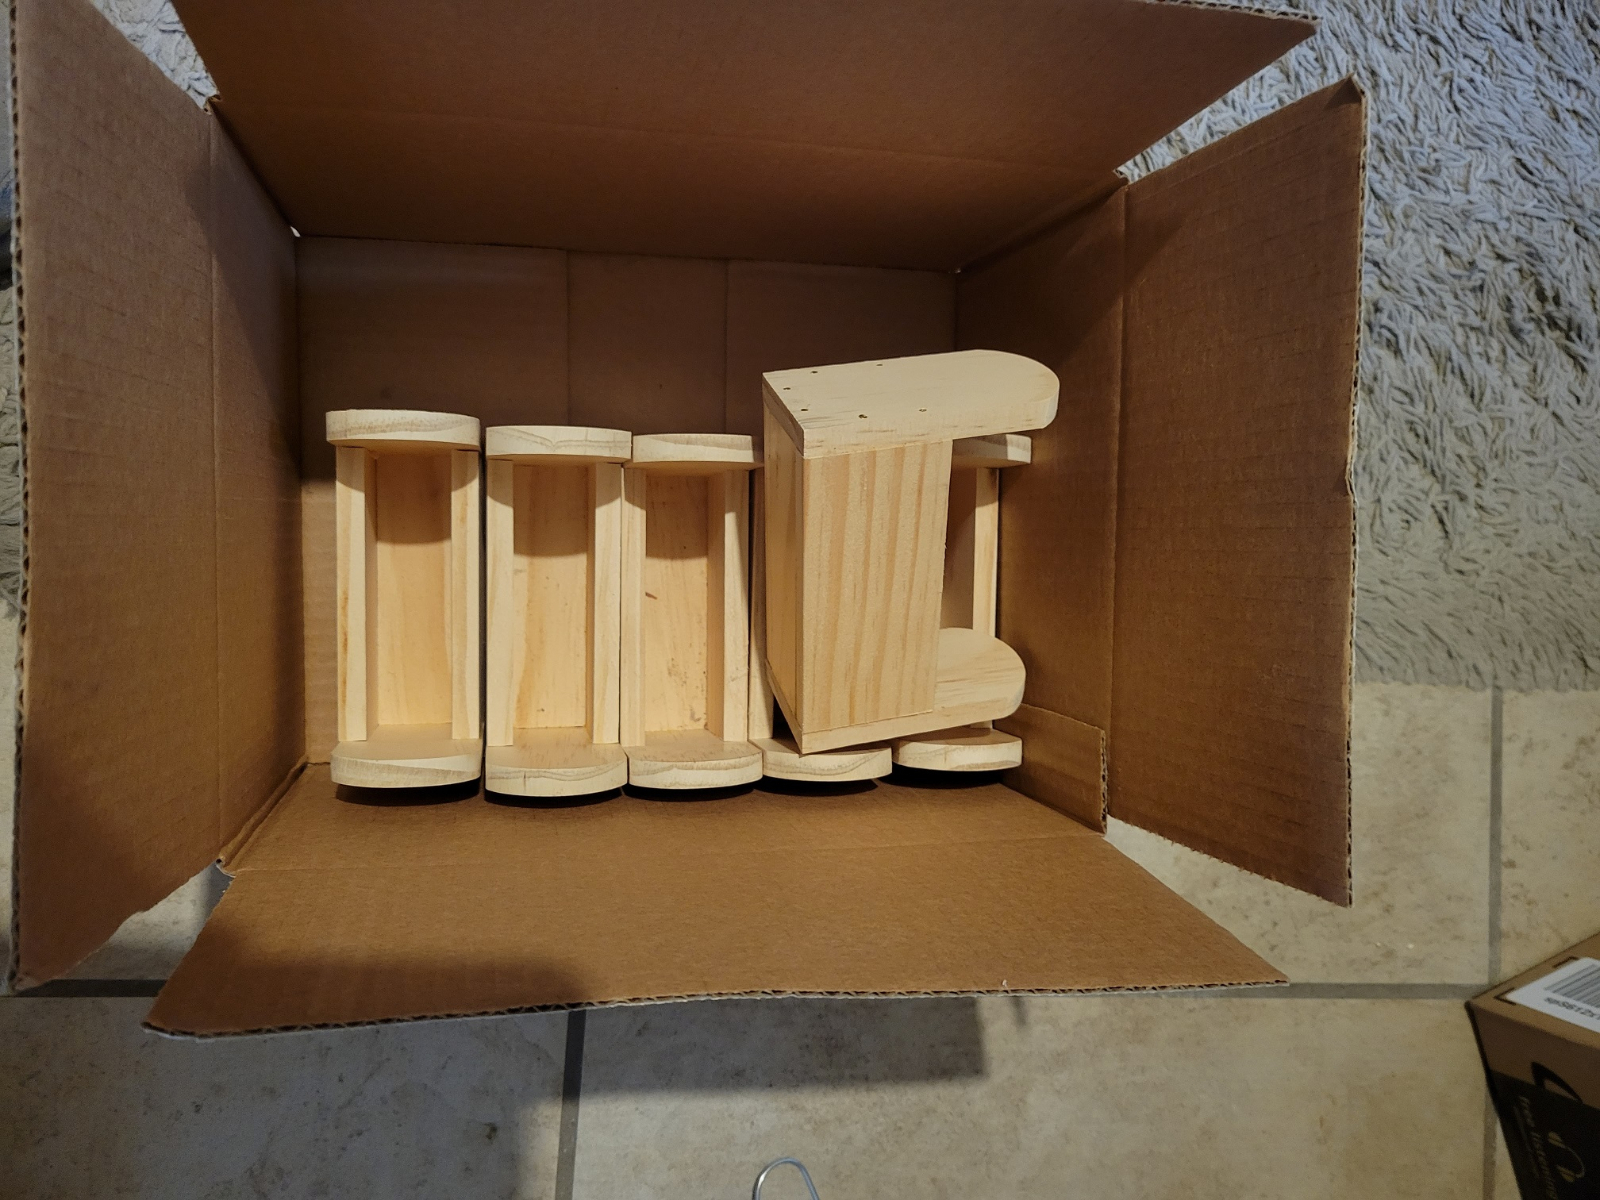
Need to cut out the leather bits still, but here's the start...
-
Will be traveling light, bare minimum due to flight. But may ship some Whydah boxes ahead to finish at the event.
-
from wikipedia and confirmed from several other sites:
Some of the earliest recorded European attempts of spiral-grooved musket barrels were of Gaspard Kolner, a gunsmith of Vienna in 1498 and Augustus Kotter of Nuremberg in 1520. Some scholars allege that Kollner’s works at the end of the 15th century only used straight grooves, and it wasn’t until he received help from Kotter that a working spiral-grooved firearm was made.[6][7][8] There may have been attempts even earlier than this, as the main inspiration of rifled firearms came from archers and crossbowmen who realized that their projectiles flew far faster and more accurately when they imparted rotation through twisted fletchings.
Though true rifling dates from the 16th century, it had to be engraved by hand and consequently did not become commonplace until the mid-19th century. Due to the laborious and expensive manufacturing process involved, early rifled firearms were primarily used by wealthy recreational hunters, who did not need to fire their weapons many times in rapid succession and appreciated the increased accuracy. Rifled firearms were not popular with military users since they were difficult to clean, and loading projectiles presented numerous challenges. If the bullet was of sufficient diameter to take up the rifling, a large mallet was required to force it down the bore. If, on the other hand, it was of reduced diameter to assist in its insertion, the bullet would not fully engage the rifling and accuracy was reduced.
The first practical military weapons using rifling with black powder were breech loaders such as the Queen Anne pistol.


Tavern stools - portable for events
in Shipwright
Posted
I meant to reply to Mary Diamond, but it was in regard to the stools not the tent poles, so here goes...
Purchased these items belowon amazon after the first attempt thinking, life has to be easier than what I just went thru threading that seat. I hadnt tried them out yet, but did grind down the backside and spot welded 3/8 buts on the back size for a larger screwpost.
I may get to them this weekend. Look for a followup...