-
Posts
1,458 -
Joined
-
Last visited
Content Type
Profiles
Forums
Events
Gallery
Everything posted by Mary Diamond
-

Ye Latest Group Photo (after much rain soaking)
Mary Diamond replied to Chirurgery93's topic in Charles Revenge
Great capture! No trouble viewing… -
‘Tis a fine looking set you have there, sir!
- 55 replies
-
- printmaking
- wood block
-
(and 2 more)
Tagged with:
-
Welcome aboard!
-
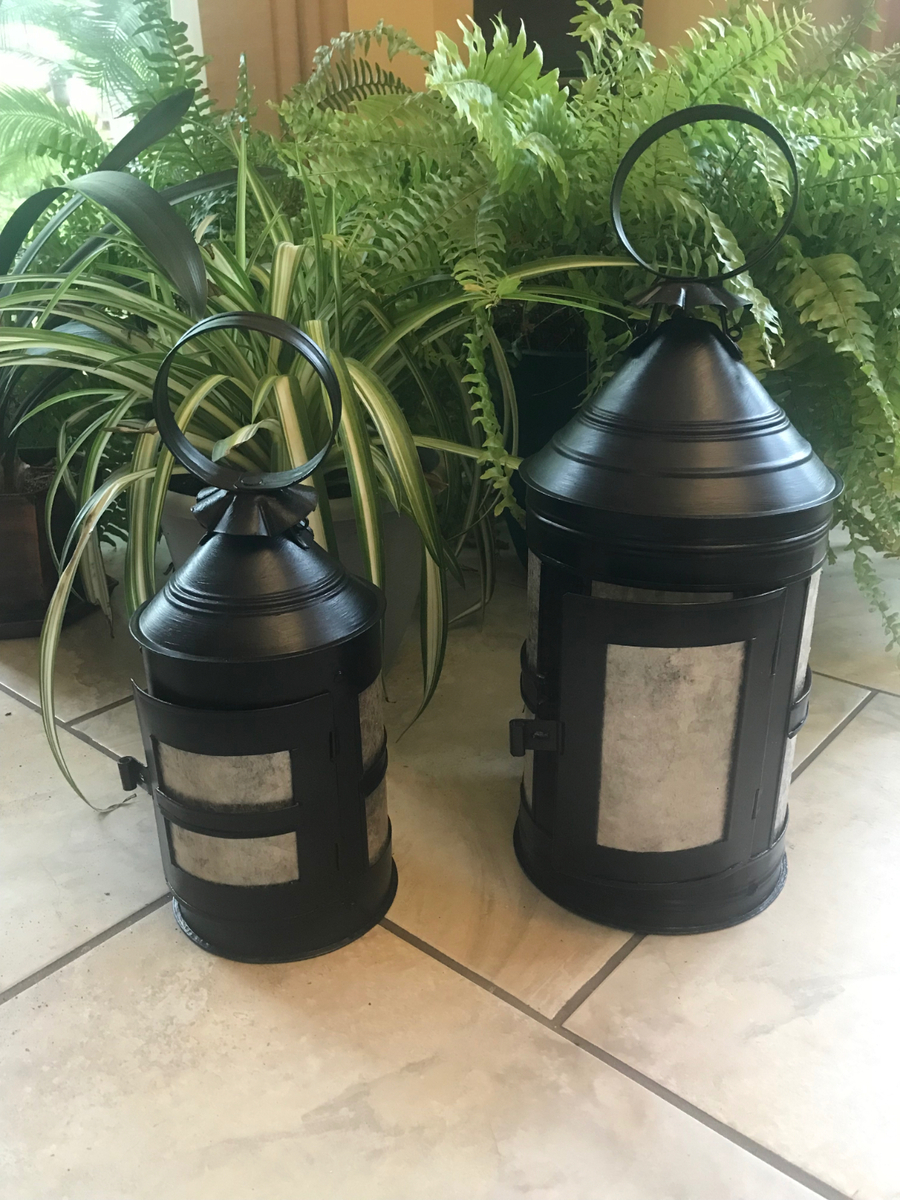
Rob Gorrell, Open Top and Naval. I love how lightweight they are, and they are beautiful with candlelight. Quality is top notch.
-
-

Making a full kit in four months
Mary Diamond replied to Tudor MercWench Smith's topic in Crafting Kit
Lovely! Did the the burn test hold true? Great neutral shade, and you certainly can’t beat the price. -

Making a full kit in four months
Mary Diamond replied to Tudor MercWench Smith's topic in Crafting Kit
Linen can be pricey, but is very hard wearing. If you tend to be warm bodied, you may appreciate the cooling effect. The crisp texture is hard to imitate. I find rayon to be too delicate for my taste. Perhaps prioritize your visible fabrics to be 100% wool, linen, silk, and revisit undergarments when budget allows. Garage sale and thrift shop bed linens can be a bargain for bulk material, and can be great for linings, undergarments, mock-ups, etc. Keep an eye out for vintage tablecloths - some great options for linen and linen look at very friendly prices. -

Making a full kit in four months
Mary Diamond replied to Tudor MercWench Smith's topic in Crafting Kit
Keep in mind that it is not necessary for the stays to close entirely. Having an open space allows some movement of the sides, which some feel is more comfortable, and allows flexibility with our normal weight gain and loss. You may also find additional information here, which may be of help (especially the Custom Corset Pattern Generator, if you would like to draft your own); https://blog.americanduchess.com/2018/01/patterns-and-books-for-18th-century.html The black shoes look like they can easily be converted to a lovely pair of latchets or ribbons/buckles (depending on your preference and requirements), and can easily be dressed up or down with a simple change of ribbon. Just remove the strap and rivet, and reduce the height of the collar. Looking forward to seeing what you come up with! -
We will be bringing my A-frame tent, which has a 6x8 footprint, if I recall correctly. The Fleet (my fly/ordinary-ish), is 10x10, not including the wings (each about 8x10), which are extended as needed.
-

Making a full kit in four months
Mary Diamond replied to Tudor MercWench Smith's topic in Crafting Kit
That is an impressive goal, to be sure! Be sure to scan your local thrift stores for linen and wool, even cotton for shifts and linings, as well as dimensionally stable tight-wove fabrics for mock-ups. Take your time with the RH patterns, ask a LOT of questions, and you will be just fine. Use scrap to make tiny mock-ups if you are sure about a construction method (such as pockets, etc.). Use your existing frock coat to guide you in altering patterns to create the short jacket and waistcoat. Stays just require some patience - look at the lines of your comfortable undergarments, and use them to guide you in creating the armseye. Understand the the top cut of the tabs will ride above your hipbones, allowing the tabs to flare out. The armseye to top of hipbone dimension is what frequently can cause discomfort, so take your time with it. Making a mock-up of the stays of heavy canvas or stable tight woven material will allow you to test the fit first. Polyester ribbon (which won’t break, I assure you) can be used to spiral lace for rough fit, no sewing or cutting - just a heavy lacing needle to bring the ribbon through the fabric (an awl might help to part the weave). Assembling each panel (with all layers stitched together) as an individual will allow you to make adjustments to the fit without recreating the entire stays. Shoes I would place as first priority, as they take so long to get in. I would forgo boots, if you are looking for a historical maritime impression (they look great, but they are ridiculously warm, not to mention expensive). A hat would also be highly recommended, as well. Keep us posted, and remember that we are here to help if you have any questions. -
Busy with my other reenactment projects +++, but Mark and I just brought home a truckload of lumber that was going to be thrown out… so, when an opportunity presents itself, I will see what I can do. You know, with all the free time I have… 😉
-

Anyone need a Mercenary Wench around these parts??
Mary Diamond replied to Tudor MercWench Smith's topic in Scuttlebutt
Welcome back! And please feel free to message me via the Pub regarding Kit, should you require any assistance. I am happy to help. -
Once upon a time I read about a tailors bench that had been flipped upside down to provide a surface for buttonhole chisel work… perhaps I need to bring my buttonhole chisels? 😊
-
Beautiful!
-
Love it! The leg assembly is very like what I was thinking. I particularly like the rough hewn surface and wedge shape. On the t-nut assemblies I have made before, I make the bolt receiving hole (in the base material), as deep as possible, to add additional rigidity to the assembly.
-
Oh, wow… beautiful shots! Thank you for sharing them - it does help to get a better feeling for what to bring with.
-
Had you considered T-nuts and threaded nuts? I use these extensively for table assembles, as well as for a cane. With thicker stock and a heavier threaded rod, these may be something to consider for stool options. Using a Forster bit to create an angled depression on the bottom side of the seat to receive the leg, and rounding the foot end of the legs, can give you an angled leg that will be stable on a wide variety of surfaces. https://www.rockler.com/steel-threaded-inserts-select-size https://www.rockler.com/screw-on-tee-nuts-choose-size-thread I have a scrap at home that will make a nice stool/bench - if I get a chance I will try the Forster bits+threaded inserts with epoxy, and post the results.
-
I have used hemlock, and personally am very pleased with its durability and ease to work.
-
Happy birthday, Chrispy 😊
-
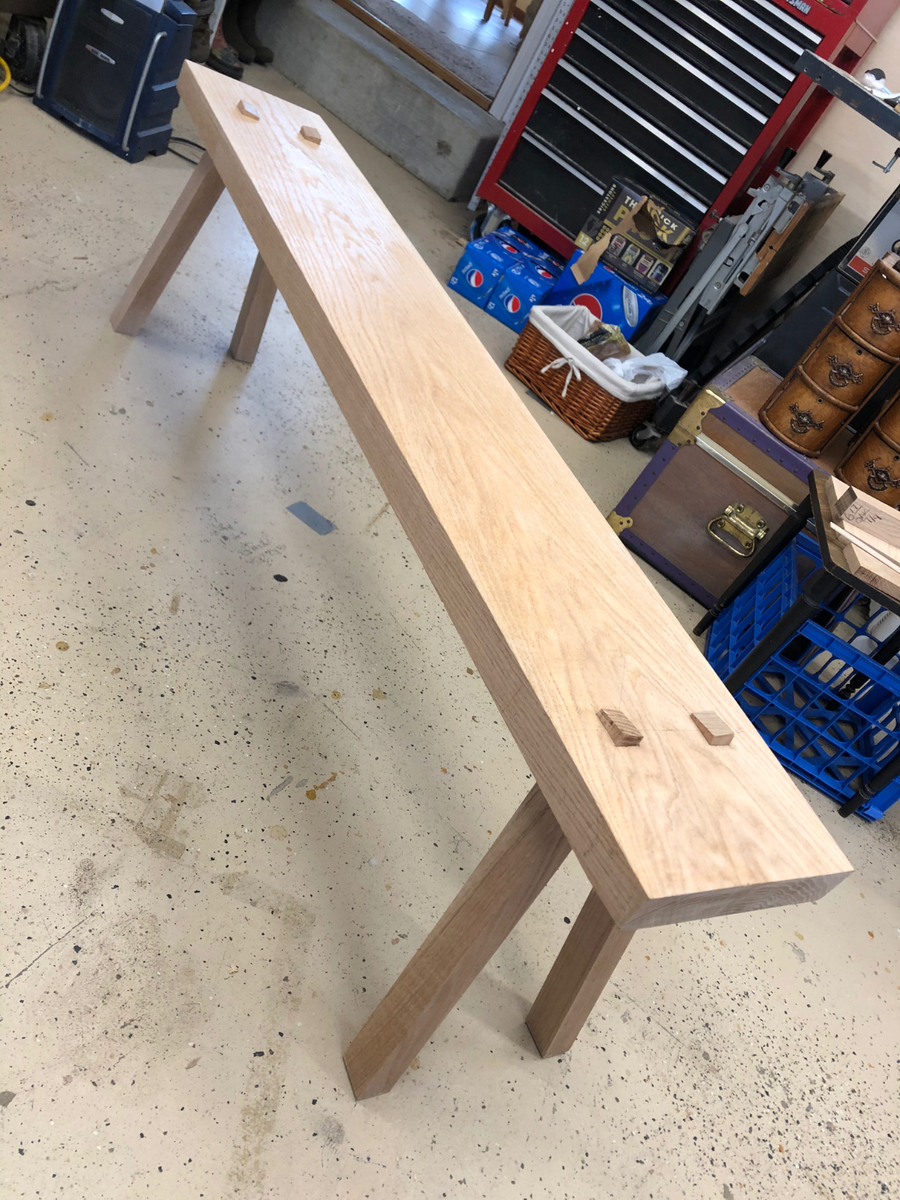
The legs on my carving bench can be knocked out, as they haven’t had the wedges inserted into the tenons. I would love to see the underside and leg shoulders on your stool, to see the assembly.
-
Wonderful work, madPete! I might also recommend Ingenious Mechanicks: Early Workbenches & Workholding, by Christopher Schwarz (https://lostartpress.com/collections/books/products/ingenious-mechanicks). I used it to create my oak carving bench, and found it very helpful. Lost Art Press is a treasure for woodworkers, in case you haven’t already come across them - I have a small collection of their books, and a few tools (Crucible) as well. The photo below is before I cut off the rear tenons of my Saalburg Workbench.
-
Intriguing! I like it…
-
😊 I will definitely share if I get to making one.
-
From experience, I can say Pfeil make lovely, high quality steel gouges. I will probably use my existing gouges, but offer some links for consideration below… https://www.dickblick.com/products/esdee-mastercut-stamp-carving-kit/ https://www.dickblick.com/search/?q=Lino cutter Flexcut is quite good - what I particularly like about this set is the included sharpening strop and compound Sharpening is important to maintain the cutter sharpness, preventing tear out. https://www.dickblick.com/products/flexcut-lino-relief-printmaking-set/?fromSearch=%2Fsearch%2F%3Fsearchword%3DLino cutter
- 55 replies
-
- printmaking
- wood block
-
(and 2 more)
Tagged with:
-
Noted. Thank you for the update and all your hard work!


