


madPete
-
Posts
1,661 -
Joined
-
Last visited
Content Type
Profiles
Forums
Events
Gallery
Posts posted by madPete
-
-
Finished some button holes...

-
Welcome Back!
-
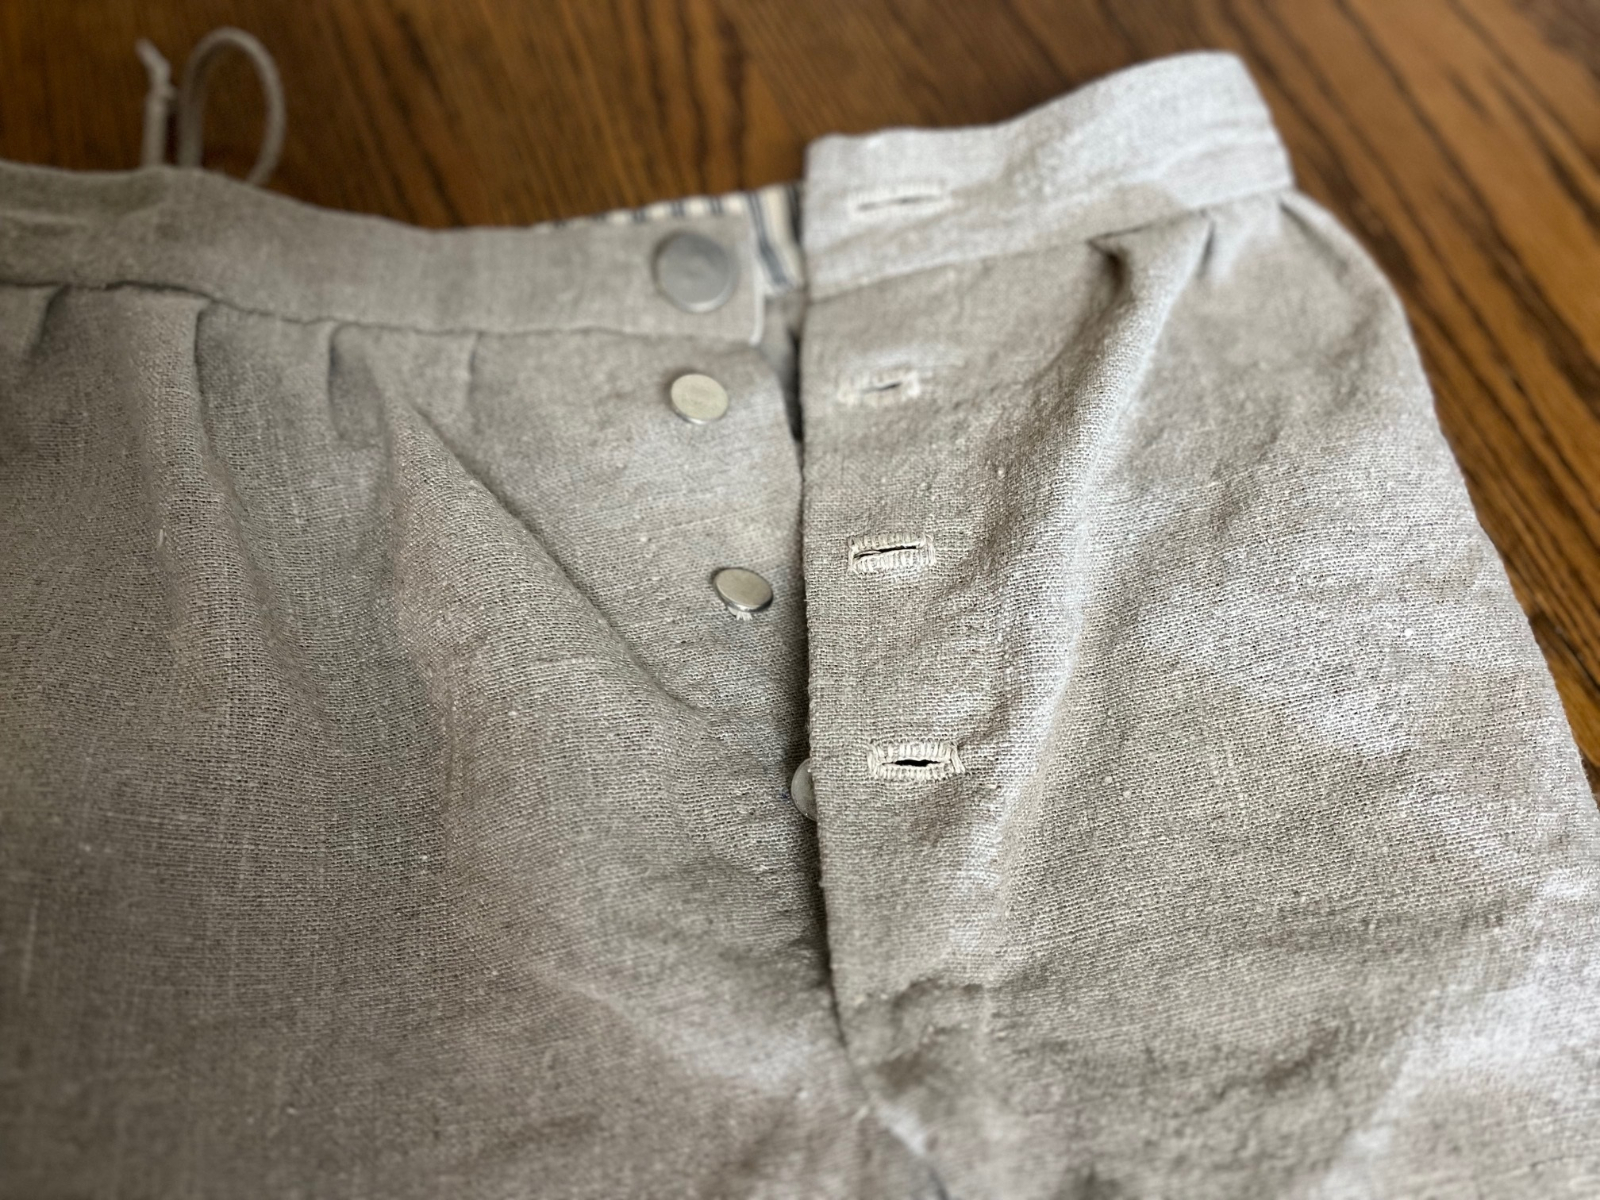
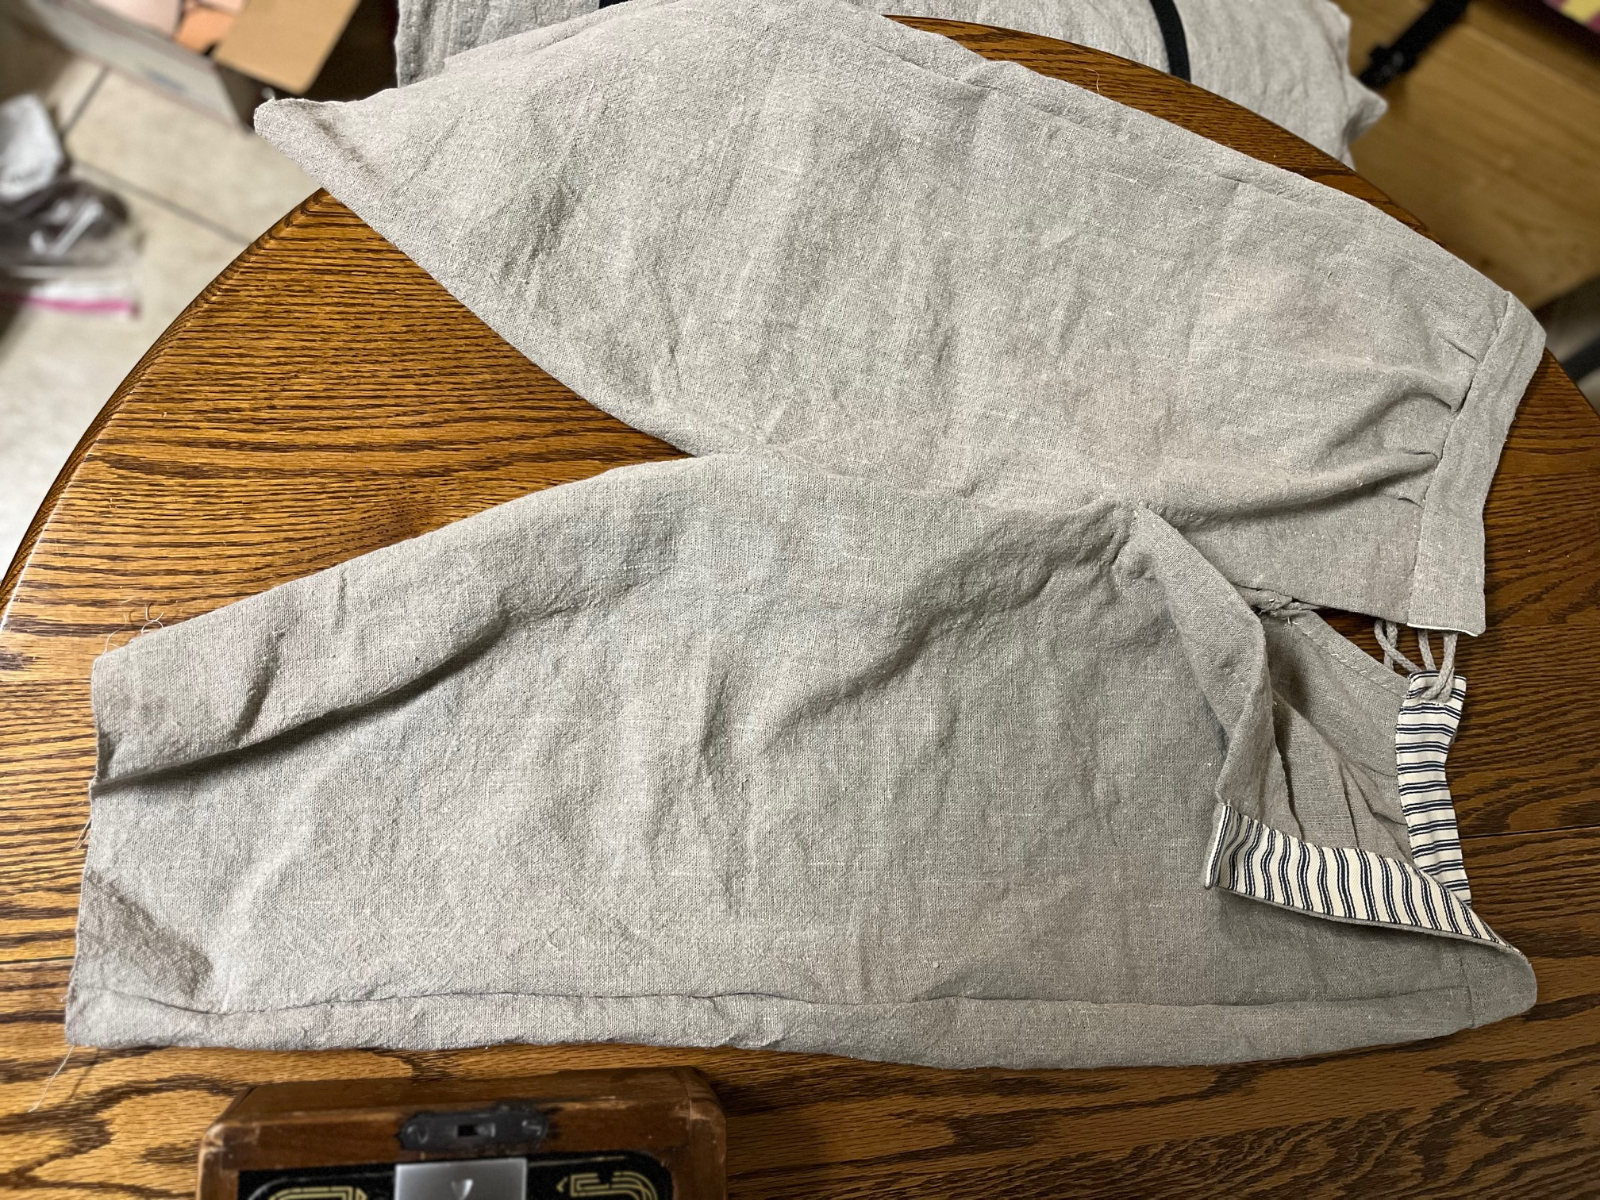
OK back to where I left off on the breeches...
Completion of the legbands:
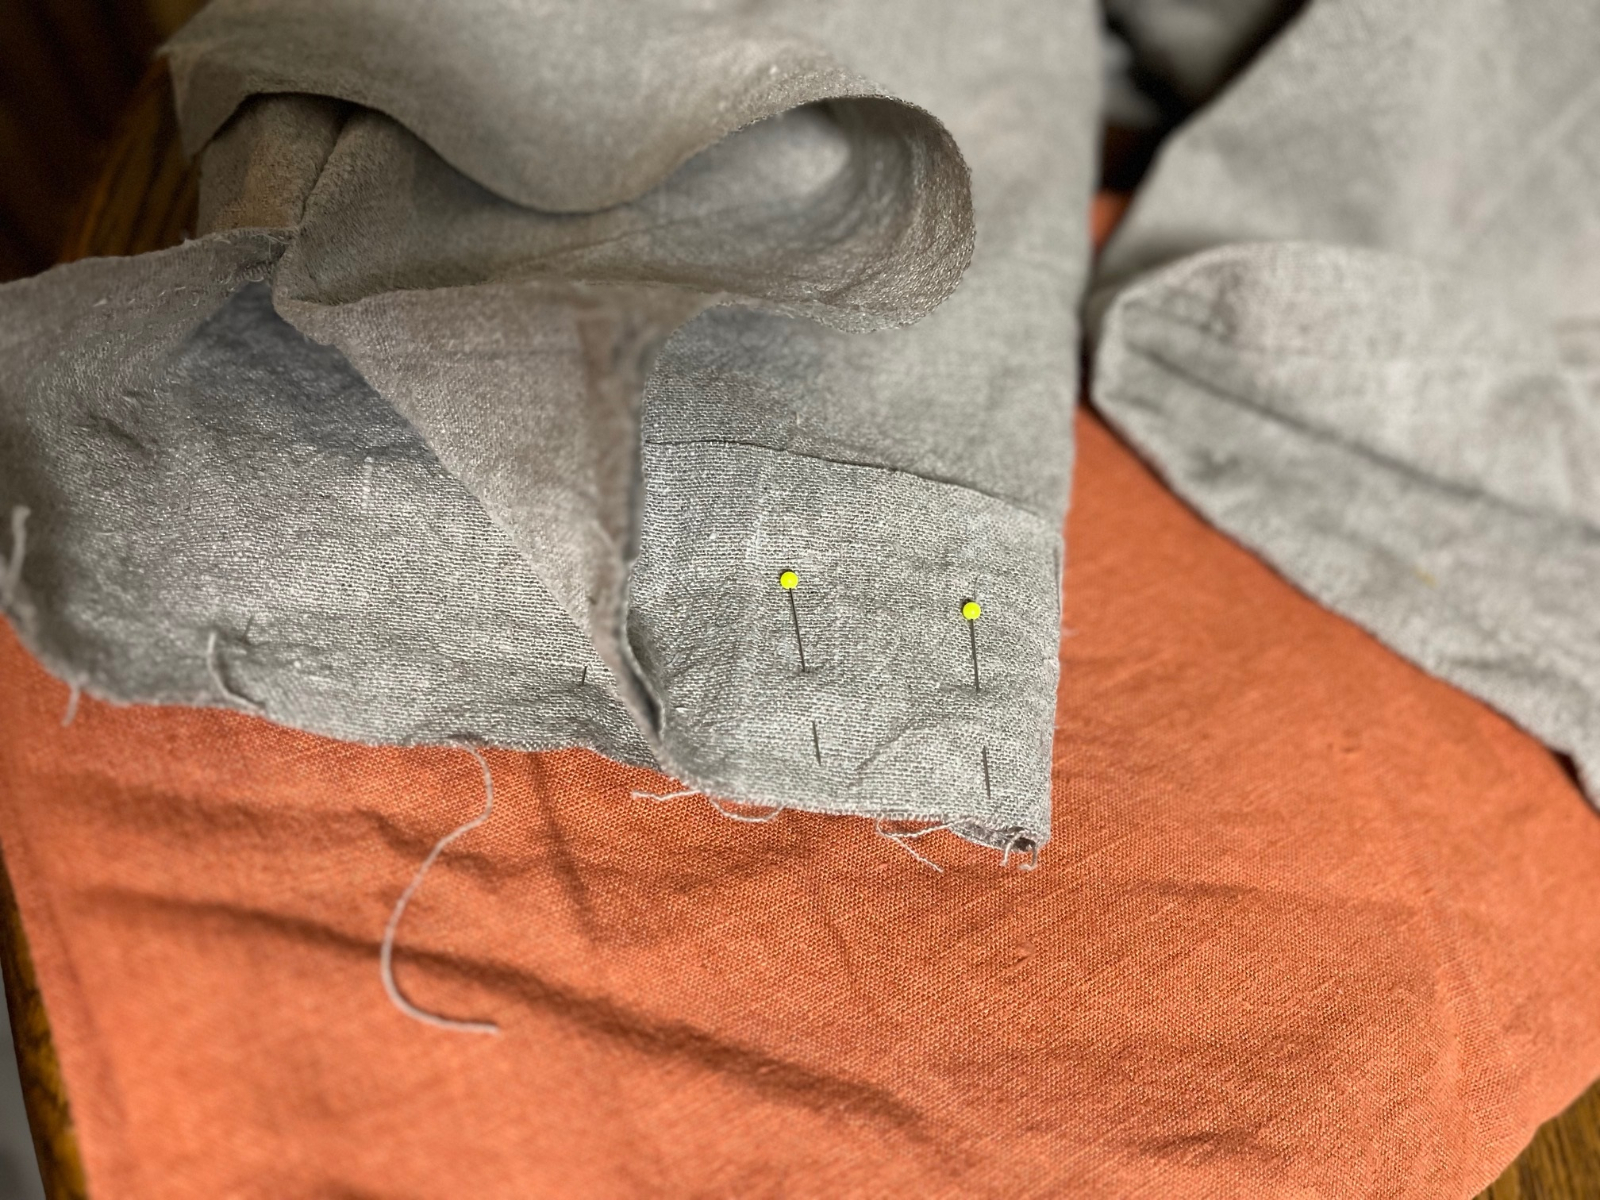
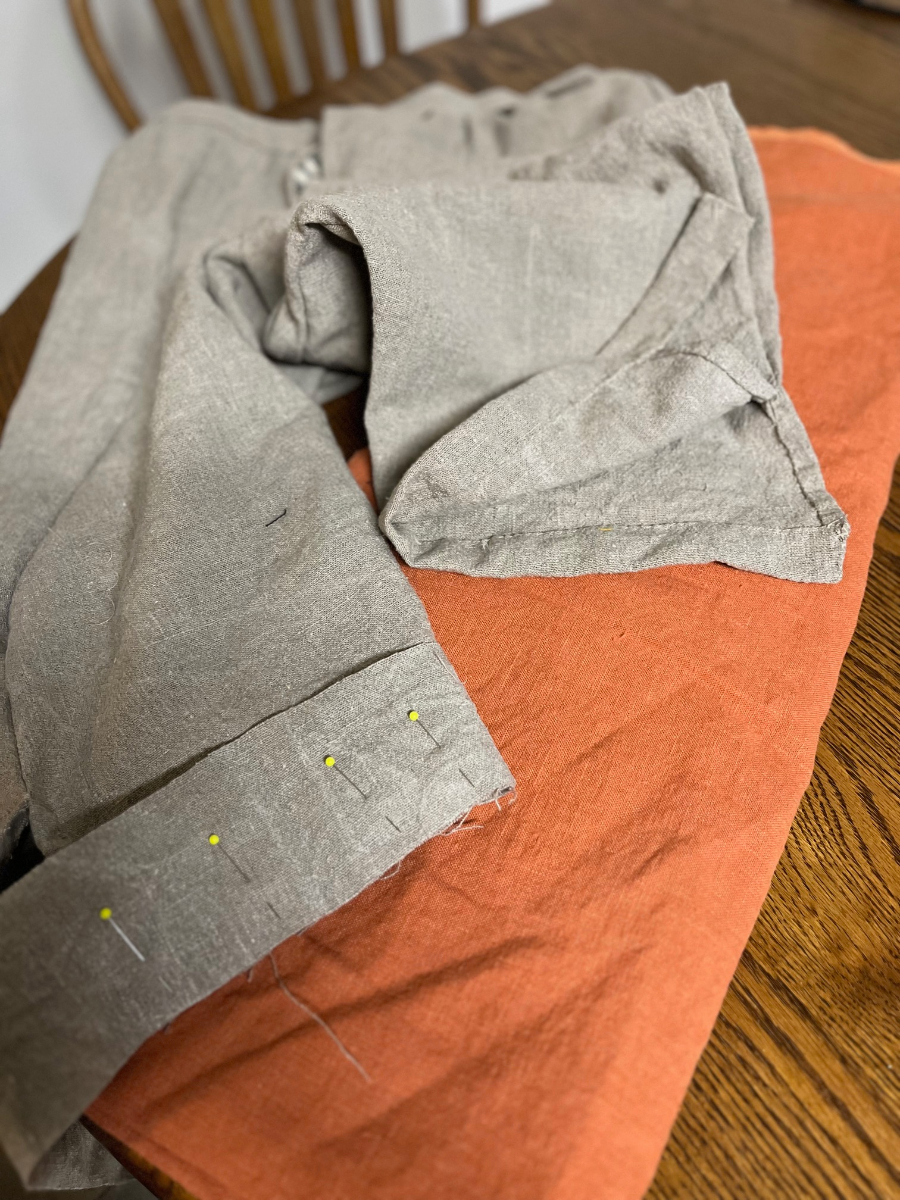
I finished one legband before I thought of taking pics. So, I pinned the other one up on the outside of the leg for this guide.
Basically, the legband is a bit longer than the circumference of the trouser leg. It's sewn on the outside of the leg 1/4 inch from the bottom (i do this step by machine because its covered up when complete). The extra length of the legband hangs off the front side and will overlap the leg slit to catch buttons on the other side of leg slit.
Or an alternate method is you could add twine / ribbon / cotton lace thru the inside of the band and stitch the ends of the band at the leg slit (without the overlap). This way the tie goes all the way around the leg, and ties on the outside.
Next, flip the legband over the raw edge of the leg. Then the other raw side of the legband is folded under 1/4 inch and attached on the inside of the leg, leaving an 1 inch band. This inside attachment is hand stitched.
Once I finish this leg, its on to the buttons and button holes.
I didnt plan pockets in these, but I'm still thinking about opening the outside seams and adding some. I almost prefer no pockets. Then there's no excuse to have hands in pockets. I much rather carrying stuff in the inside pocket of a coat or vest, or in my snapsack.
-
Happy BirfDay!
-
On 2/11/2024 at 7:37 AM, Stynky Tudor said:
I've made the sleeveless pattern a few times now and can attest to it being pretty quick/easy, especially if you have any previous sewing experience. Initially I didn't have a clue or experience sewing and making (welt) pockets hung me up big time, until I saw a YouTube and I could wrap my head around the process. But even then actual pockets aren't necessary, you can have nothing or just ornamental pocket flaps.
It's nice having a resource like youtube. Helped me get thru my first set of sleeves.
-
Thanks! If I can only get back to them again to finish...
-
10 hours ago, Tudor MercWench Smith said:
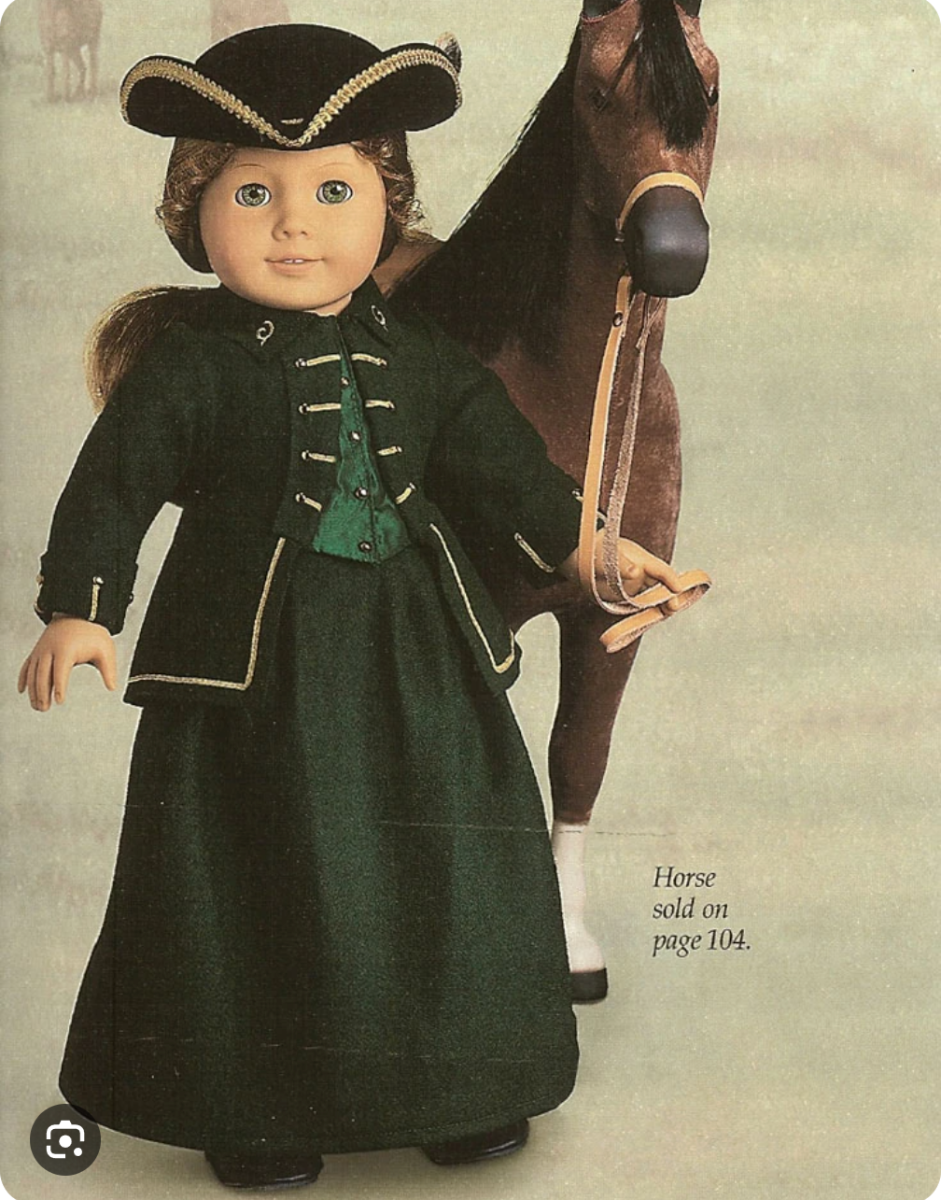
I blame this one.....for the green wool habit specifically but also obsession with historical clothing in general....

My obsession was always Dr Syn from the Disney Scarecrow series. Yeah, kinda dark...
-
On 2/5/2024 at 7:20 PM, Tudor MercWench Smith said:
Secondly, I already have the RH women's riding habit pattern as it is a bucket list item in my life to someday ride a horse sidesaddle through Hyde Park wearing an inordinate amount of green wool made in just this pattern, but I digress. That pattern happens to have a waistcoat pattern, women's wear of course, but habits were often made to follow the masculine fashion, and mixing pieces is kind of the vibe I've always envisioned. So I am tempted to whip one up on that pattern and see if it works.
😁😁😁
-
24 minutes ago, Tudor MercWench Smith said:
on the waist coat topic I am currently ruminating on two different ideas (before I will more then likely pull the trigger and purchase the RH pattern). . .
First, just hack the sleeves off the blue jacket I made. The fit in the shoulders without the sleeves was a little wonky, but the sleeves themselves also aren't anything to write home about. A little snippy snip, a little whip stitch and I could have the whole item knocked off my list, and I still have my black wool frock coat for any cold moments during the event.
Secondly, I already have the RH women's riding habit pattern as it is a bucket list item in my life to someday ride a horse sidesaddle through Hyde Park wearing an inordinate amount of green wool made in just this pattern, but I digress. That pattern happens to have a waistcoat pattern, women's wear of course, but habits were often made to follow the masculine fashion, and mixing pieces is kind of the vibe I've always envisioned. So I am tempted to whip one up on that pattern and see if it works.
Again . . . I know neither of these options ultimate will yield what I want them to, so they more then likely won't be done but I have to think it through, and unfortunately for you all, you have to bear the brunt of my musings.
Except for the pockets, a sleeveless waistcoat goes pretty quick. I looked back on the building photos of the coat, and you may want to cut the arm openings slightly larger if it feels wonky. Otherwise that is a cheap and dirty way to get a waistcoat.
I have a blue wool sailors coat and a linen buccaneer jacket that I selectively carry depending on event. My usual wear is a sleeveless waistcoat, so the sailors coats are rarely worn unless I rangle a cruise on the ocean. But I'm in Arizona so, your needs are likely different. I'm making the wool cloak for serious warmth, and it may double as my sleeping blanket, which means I need to get cracking on it again. Life is kinda messed up right now with parents in and out of the hospital, so I've not had much chance to work projects.
-
I can see three drunk pirates all reaching for the rum at the same time! (and two without fingers)
-
On 1/29/2024 at 1:01 PM, Tudor MercWench Smith said:
You know I've looked at this pattern about a dozen times and somehow never actually read the note that it's got the sleeveless and short options lol
more bang for the buck!
-
2 hours ago, Tudor MercWench Smith said:
Any reccs on patterns now gladly being accepted.
Reconstructing History RH704 is a versatile pattern. I believe it has instructions for short sailor waistcoat, long waistcoat and sleeved waistcoats. I think she's in Europe now, but when I ordered last time it arrived quickly. There are some resellers too, might even find on eBay.
https://reconstructinghistory.com/products/rh704-1700s-1730s-waistcoats
-
I see where you're going with that and it does look very close to that original. I now understand why you were thinking about refinish. You have a good extant example to pull from so the skys the limit.
-
well, remember... It's not been used yet. a couple overnights and its gonna look the part.
-
I'm roughly basing it on a simplicity pattern. It's just big triangles, but needed the neck shape. The outer body and lining body are each sewn up, just need to tie them together with the cape and a collar.
-
I put rope handles on all my boxes. After helping carry someone elses box with too small, steel handles that pinched fingers, I said never again.
2 holes with the rope knotted on the inside. Look at sailor chests online, there are other period ways to do this, but rope is easy and comfortable on the hands. Just make sure it extends above the lid with enough room for the hands, or it crushes your hands against the side of the box if theres a lot of weight.
A Balemark? I can bring the Mercury block to the event...
"- a fabric lining, to both help keep my clothes from snagging but also to cover up the scratches on the inside that I can't help but think they are finger nail marks 🤨"
EEGADS, someone was locked in your trunk???!?? hmmmpf... damn... hmmmphhphh... pyra... tes...
-
Thanks! I just realized I still have no carving knives. William was looking into one for me, but I guess I need to get after that!
The more I think about these things, the more I have yet to do. Like executing some recipes and sampling them before the next event.
The bedroll was something I had been thinking about for a while. When William said, lets show them our crew coming in with our kit on our backs, I had to make it. But this ole back needs some cush, thus the self inflating mattress. Its really just a cover for the mattress, but at least it hides the modern stuff. Either a wool blanket or the cloak on top and a linen bag stuffed with clothes for a pillow.
-
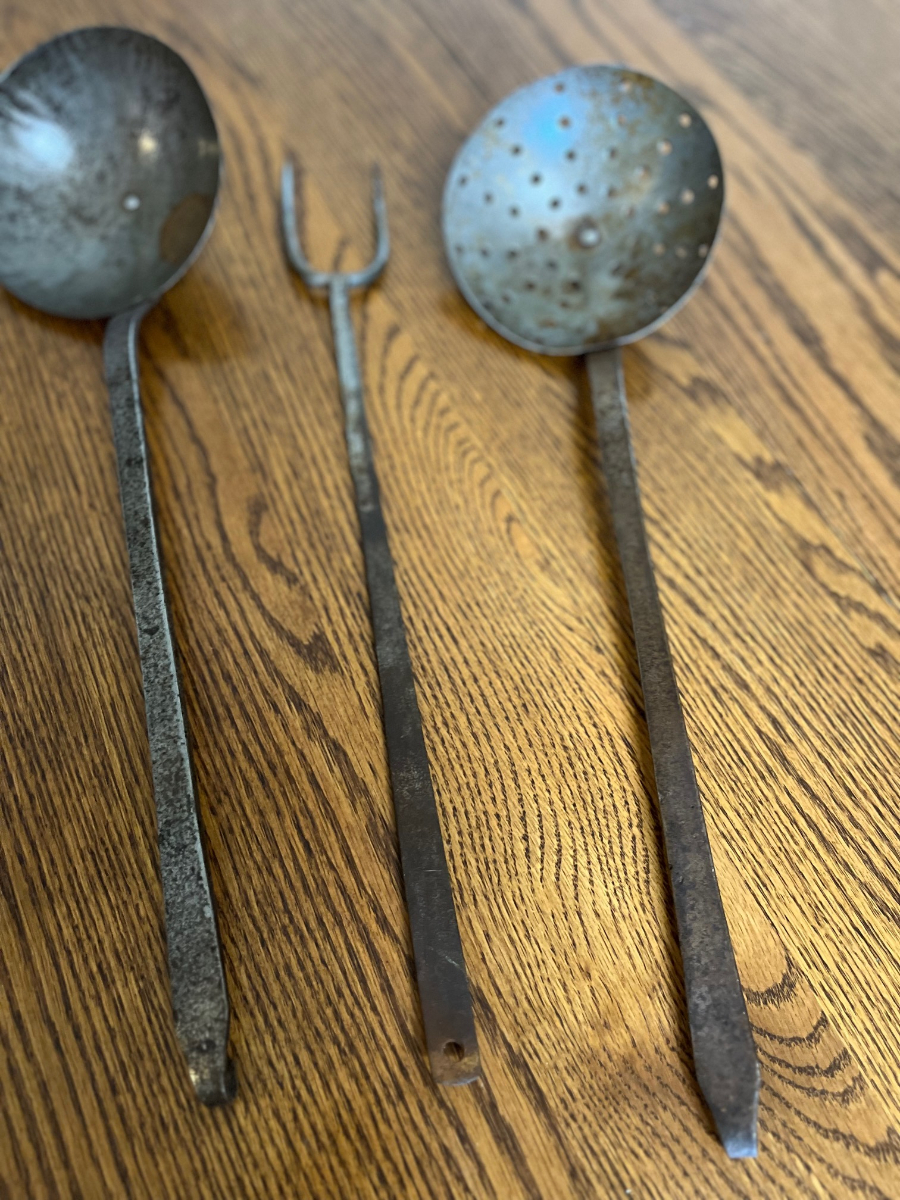
oooh, a couple more cooking utensils arrived, a label, strainer, and fork.
This is probably it for the big stuff, so I may have to make a trip to tandy to look for some leather to make the utensil roll.
-
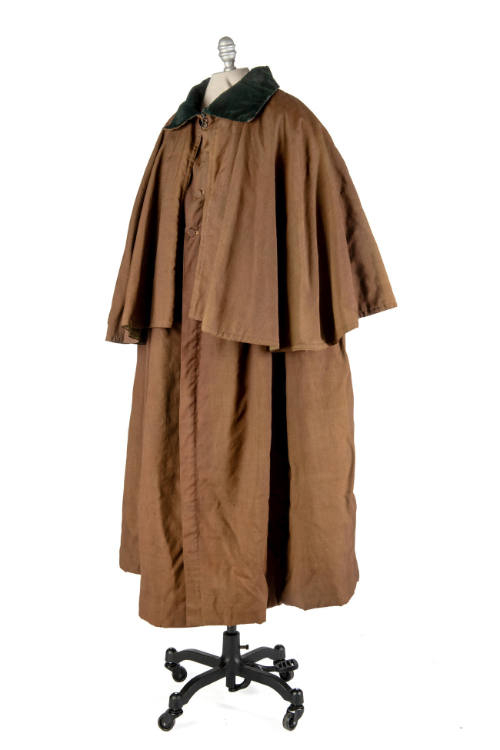
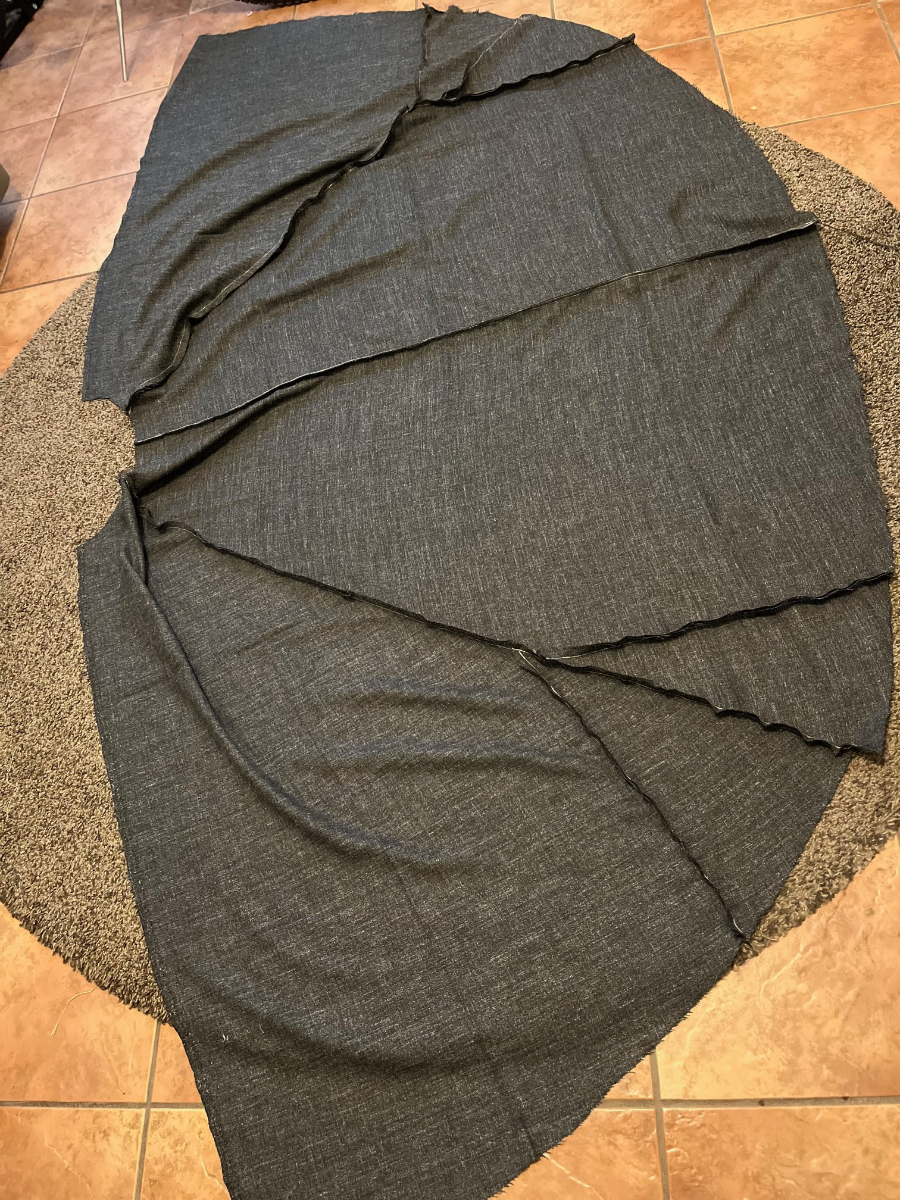
Ok, made some progress on the watchman cloak this morning. Advice is, find the widest material you can. I started with 5 yards (YES 5 YARDS) 60 inches wide of a charcoal (mixed black and white) suit weight wool. I made one of these for my youngest with just slightly heavier wool and cotton flannel blackwatch (green and black) lining. And it seems plenty warm and reduces the weight somewhat (warm enough for Arizona so take that with a grain of salt).
The plan is for long cloak (mid calf or ankle) with a shoulder cape and lining. I would plan no less than 5 1/2 yards of 60inch wide. Having said that wool is not inexpensive. I found somewhat of a deal on 5 yards already cut that came in 2 pieces. But a full on coating weight wool is gonna be at least $20 a yard and maybe closed to 35-40 depending what you choose. And dont forget, you need only slightly less for the lining. I chose a heavy window pane linen bought from Joanns online. So a significant investment!
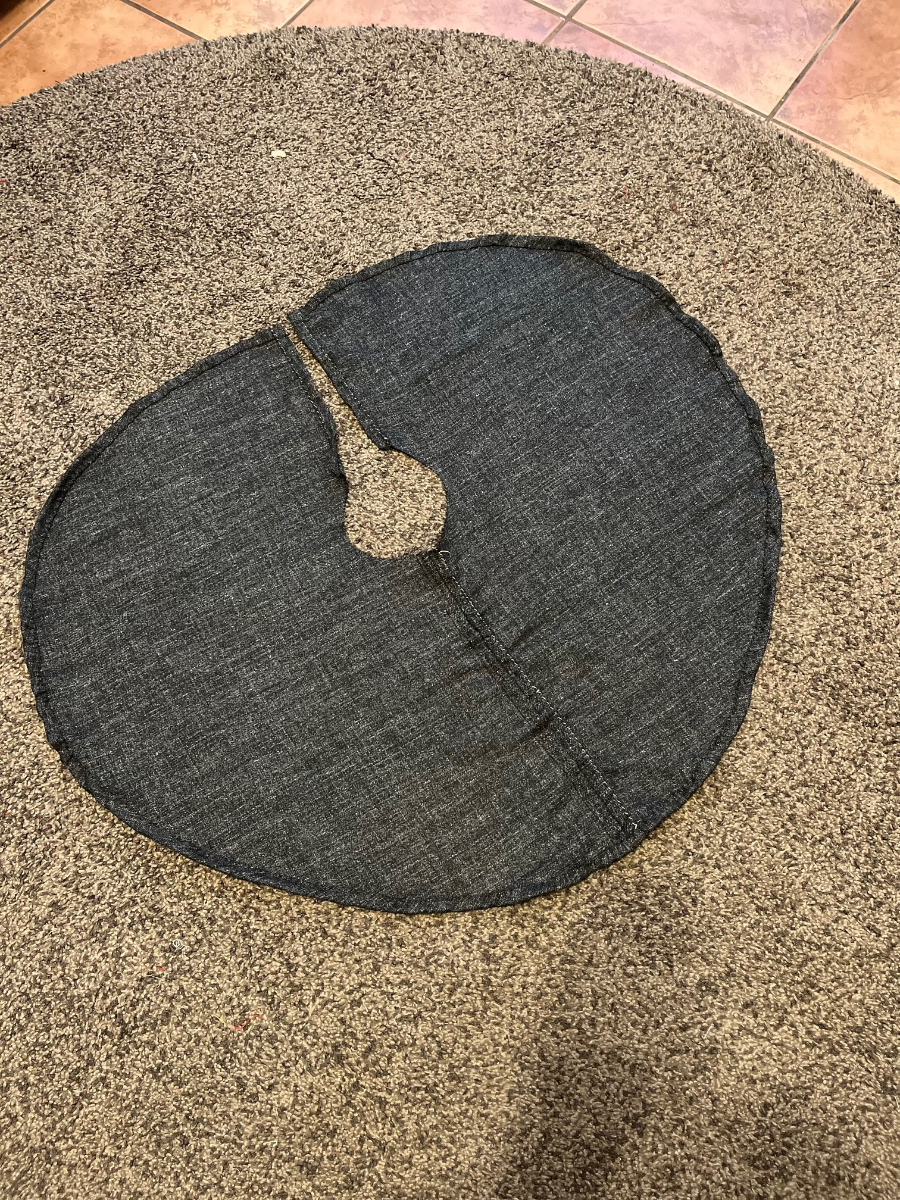
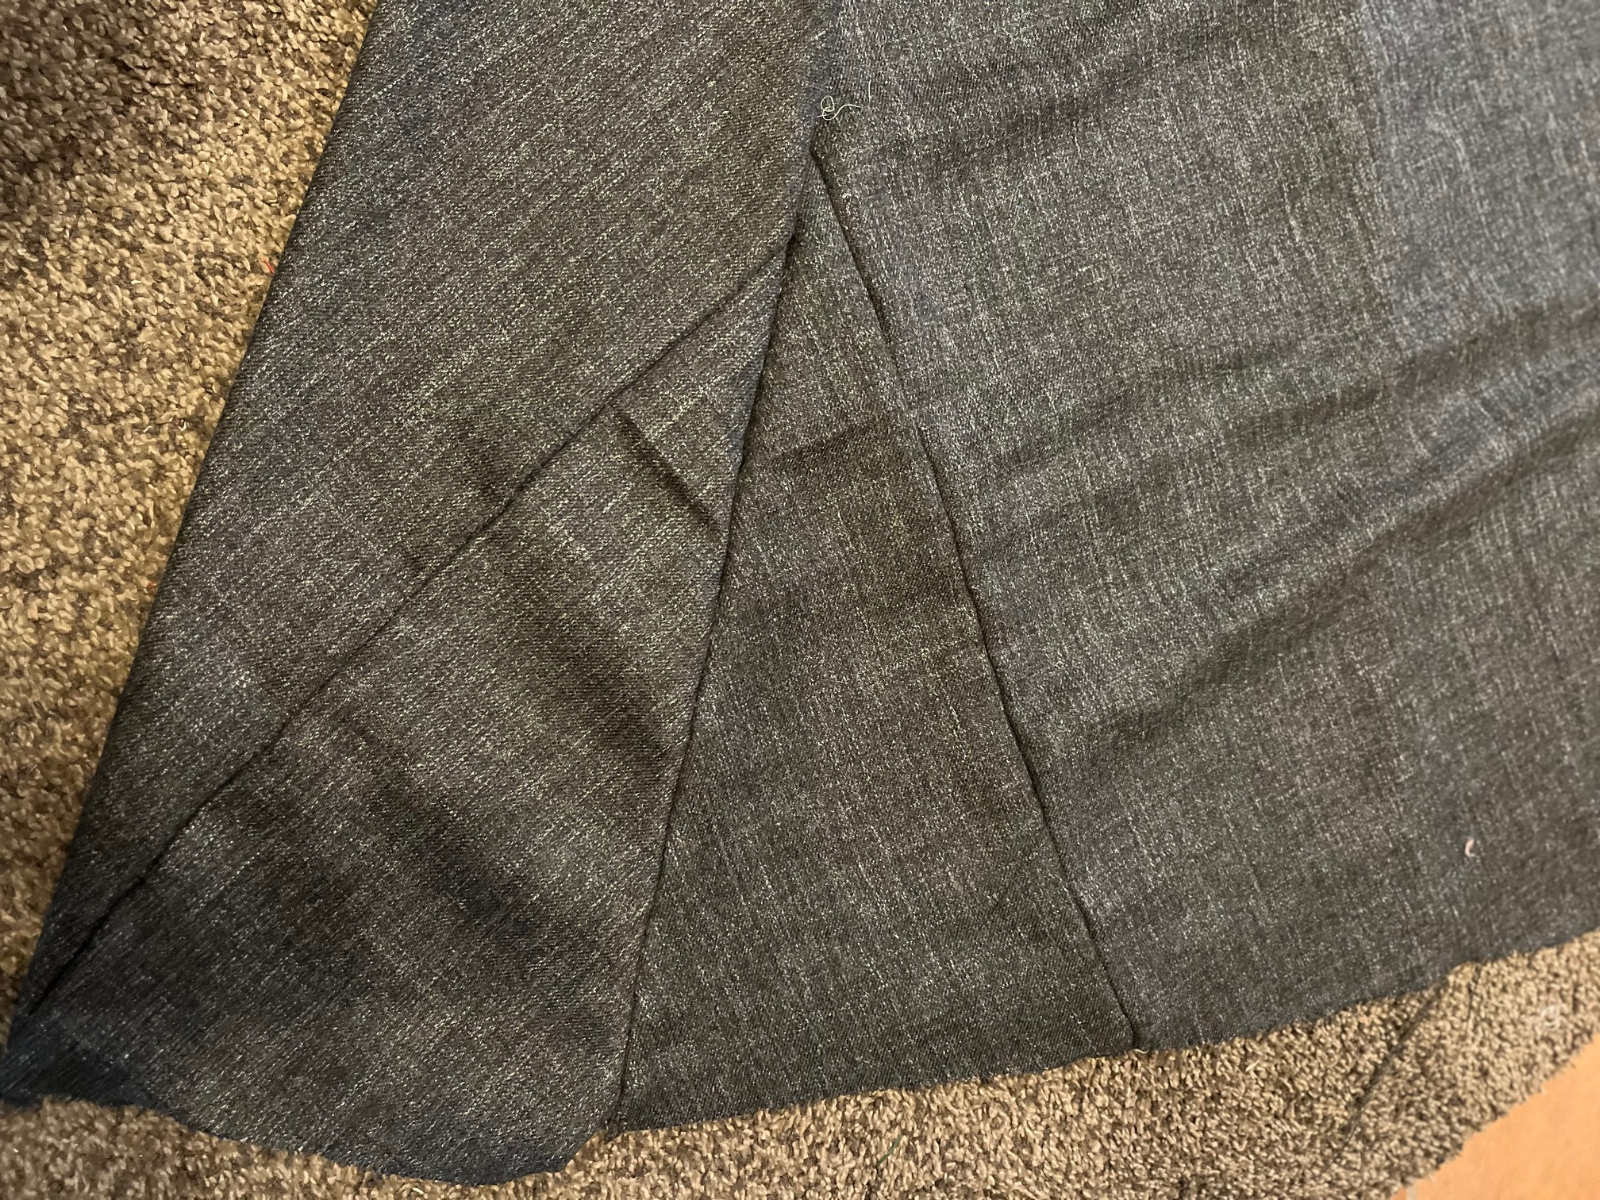
If you want to do a cloak that goes half circle, you will have to piece it at least minimally. There are several ways to do it, but I chose to extend the corners at the bottom, like wings. I figured it would be less distracting and use smaller pieces than a horizontal seam halfway down the cape. As it was, I scrimping for fabric already. I would like to have used one large piece instead of two smaller pieces but wasn't sure I could do that. If I make another I will get an extra half yard to make it happen.
With the shoulder cape and the half circle, it has pretty much used up that 5 yards. Altho the material has no pattern, there is definately a grain. The outside (rightside) grain is vertical, inside is horizontal. so if you have a patterned material you may need more to match seams. I'm doing the seams by machine. Its a lot of yardage to hand sew and I did the shoulder cape mostly by hand, especially the hemmed edges and front. I'll do likewise hemming the bottom and front edge of the main body by hand.
First photo is a rough example of the target - a men's watchman cloak. I was surprised how many originals I found that were red (mostly later 18th century tho)
Next photos are the shoulder cape, the overall size and the pieces (or wings) I used to extend it.
-
Personally I would just accomplish whatever repairs it needs, maybe strengthen the corners if needed. The outside looks rustic which is good. As you have time you can put a new lining or embellish as desired.
-
bububuuuuut... I thought you were French! Oh well, that explains a few things about hte auction LOL
-
For those needing shoes... on the facebook forum "Authentic Pirate Living History 1690-1730" this popped up...
-
So are ye bringing a company or a battalion? 😁
-
A tumpline is a great idea, didn't think of that.
The forged utensils I have so far are fairly light, gonna skip the tripod. We already have to coordinate with some one to bring the bigger stuff, like a pot.
I supposes we could always makeshift a wooden one on site


Welcome aboard Sawney Beane!
in Scuttlebutt
Posted
Welcome aboard! and kudos for the unique name.